In order to share file in a secure way, I needed to configure an SFTP server on a Windows Server machine (don’t confuse with FTPS!).
Since Windows doesn’t come with an SFTP server by default, you have to install a software to do that.
To do the job, I choose “Bitvise SSH Server” which I like because is simple, free for personal use, and has a reasonable cost if you upgrade to full version.
First of all, download the software from the Bitvise web site: https://www.bitvise.com/ssh-server-download
Once the download is complete, launch the executable to start the installation.
You will see a form like this (screenshot taken from version 7.44):
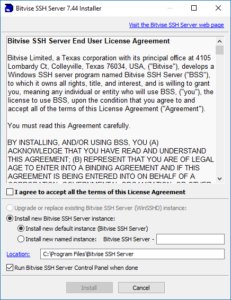
Check the license agreement and select the option “Install new default instance” which is good for most cases.
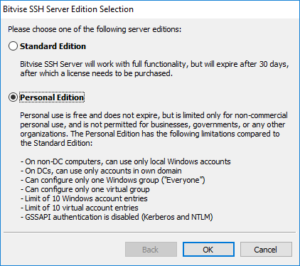
Choose “Personal Edition” which is fine for our example.
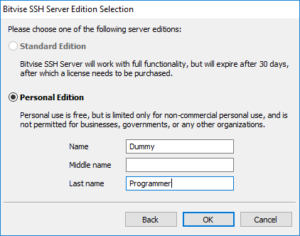
Insert your name, then press “Ok”.
Completed the installation you have to restart the server.
Now some configuration steps….
First of all, you have to setup users that will access your SFTP server. Bitvise allow you to manage users in two ways:
- Windows account: access to your SFTP folder is managed using one or more Windows account
- Virtual account: access to your SFTP folder is managed using user accounts created in Bitvise
We are going to use virtual accounts for this test.
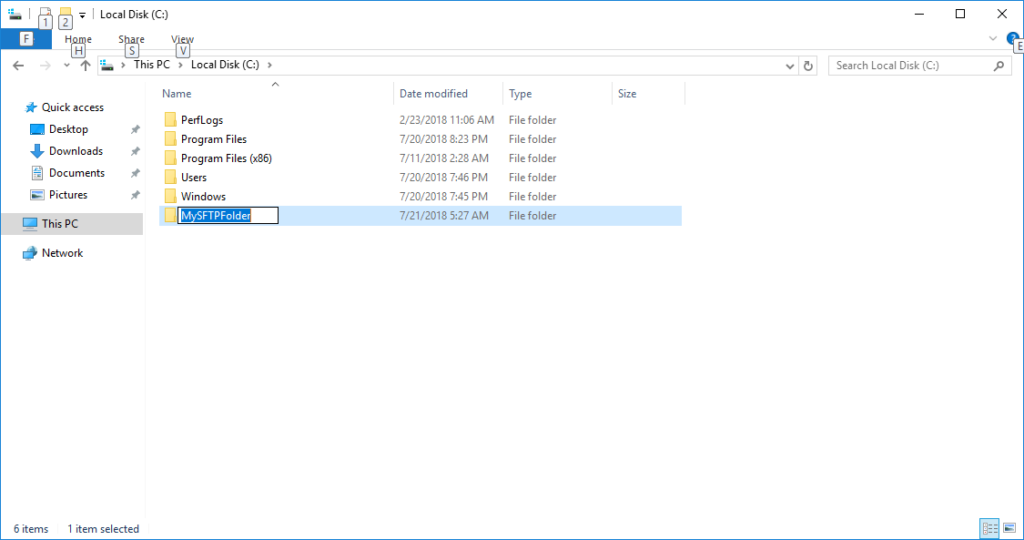
Create the folder that you want to use to contain the files (in the example “C:\TestSFTP”).
Open the Bitvise control panel and click on “Open easy setting”.

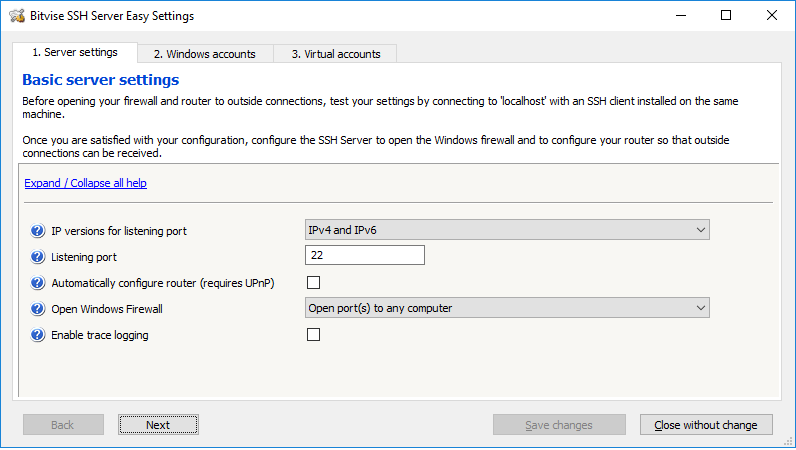
A configuration popup will appear. In the “Server settings” tab leave all the default values except for field “Open Windows Firewall” that you have to set to “Open port(s) to any computer”.
Click on “Virtual accounts” and press “Add” to create a new account.
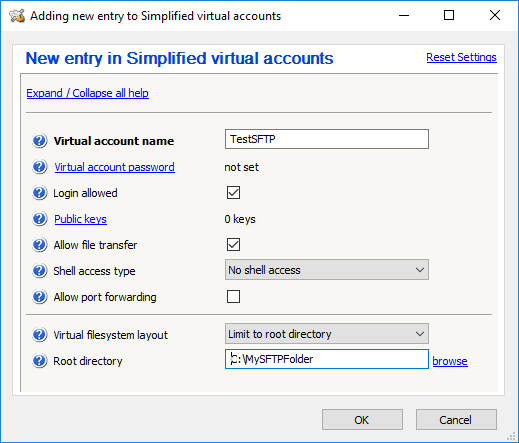
Configure the user as follow:
- set user name to “TestSFTP”, you will need it to connect to the SFTP server
- click on “Virtual account password” to set the password for the user
- in “Shell access type” select “No shell access” (I don’t want users to use SSH shell)
- in “Virtual filesystem layout” set “Limit to root directory”
- in “Root directory” set the folder you created at the start of this tutorial
When you are done, press “OK” to confirm user configuration and then “Save changes” in the form below.
You are now ready to use your SFTP server!
To connect to the server you can simply use FileZilla:

Open the site manager using the button in the upper left corner.
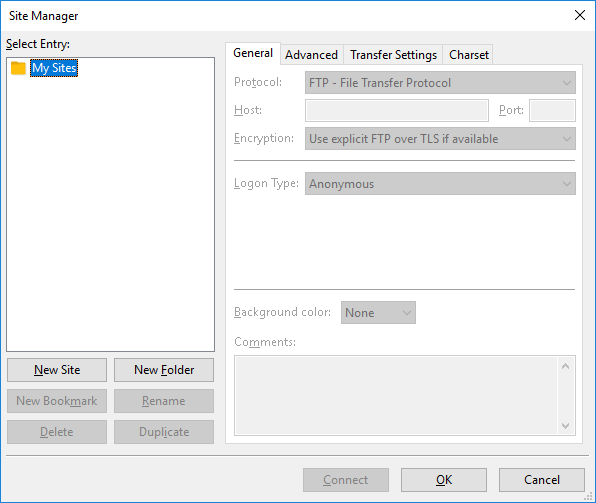
Click on “New site” and configure the connection as follow:
- Protocol: SFTP SSH File Transfer Protocol
- Host: your SFTP server ip address
- Logon type: normal
- User: TestSFTP
- Password: the password for TestSFTP

Click “Connect” to start using your server!