In the previous post we saw how to create an SSL certificate (*.thedummyprogrammer.com) and the related CA certificate. To show you how to use those certificates, I’m going to use them in a website running in the local IIS of my PC.
A practical example with an IIS website
We will see an example on how to use the certificates just created. I want to create a test website in my local IIS which is running on my desktop PC. I want this site to respond to the address “https://www.thedummyprogrammer.local”.
First of all, open the file C:\Windows\System32\drivers\etc\hosts and add the following line:
127.0.0.1 www.thedummyprogrammer.localWe can’t use a DNS, so modifying the PC’s host file allow us to point our local webserver with the URL “https://www.thedummyprogrammer.local”.
Now it’s the time to create the new website in the local IIS. We will create a simple, static, HTML page and put it in the root of the website. This is the content of my index.html file:
<html>
	<head>
		<title>My test site</title>
	</head>
	<body>
		<h1>My test site</h1>
	</body>
</html>
This is the screenshot of the website configuration:
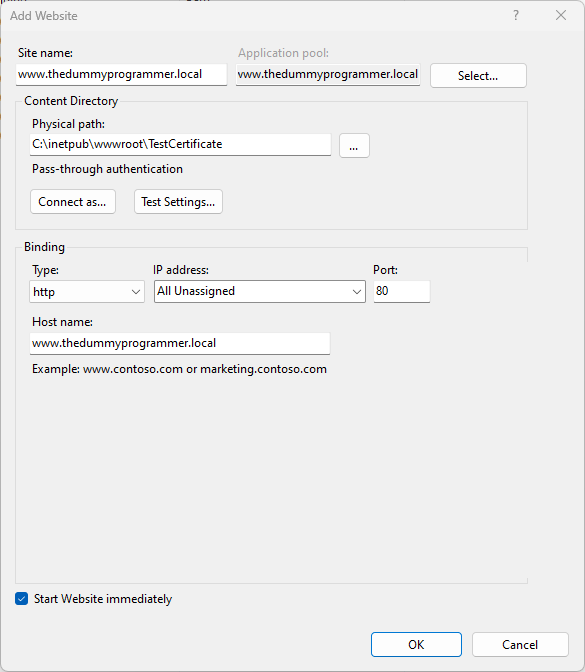
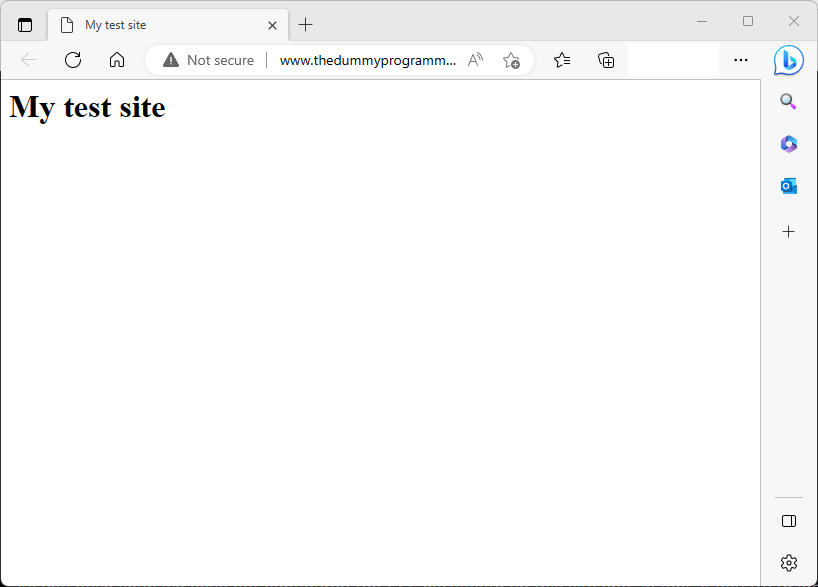
As you have seen we have not configured the SSL certificate on this site and, in fact, if you try to load the website you will see that is labeled as “not secure”.
Installing SSL certificate and CA certificate
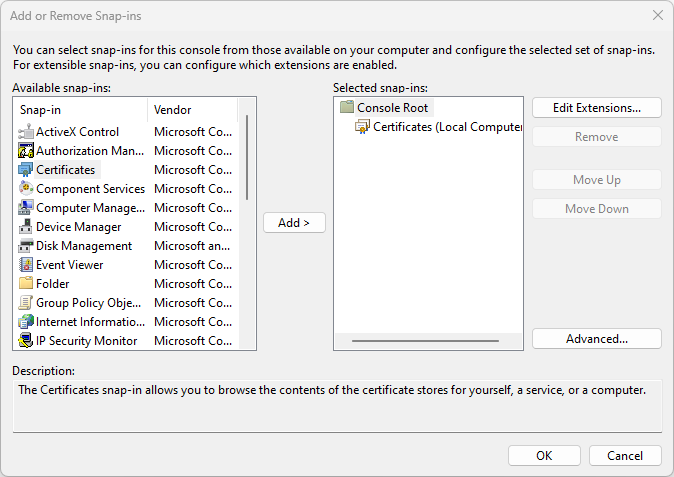
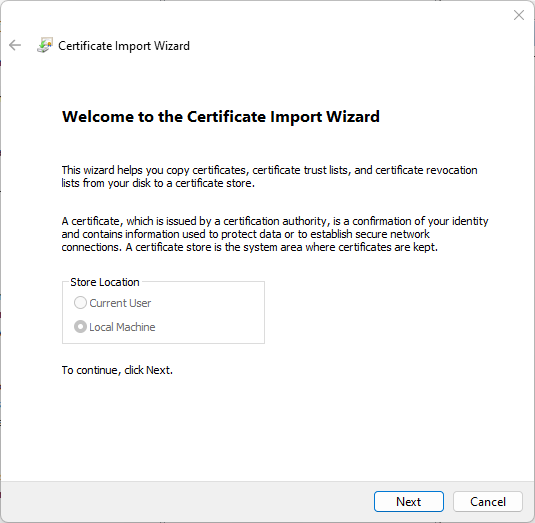
Let’s start by adding the certificate in our Windows desktop, which acts as a server because we are running our website on it. Press “Windows key + R” to show the “Run” window. In the “Run” window type “mmc” and press “Enter.” The Microsoft Management Console should appear.
Now click on “File” -> “Add / Remove snap in…” and add the “Certificates” snap in. Be sure to select “Computer account” and next “Local computer” when asked. You should see something similar to the following:
If you press “OK” you should see the following:
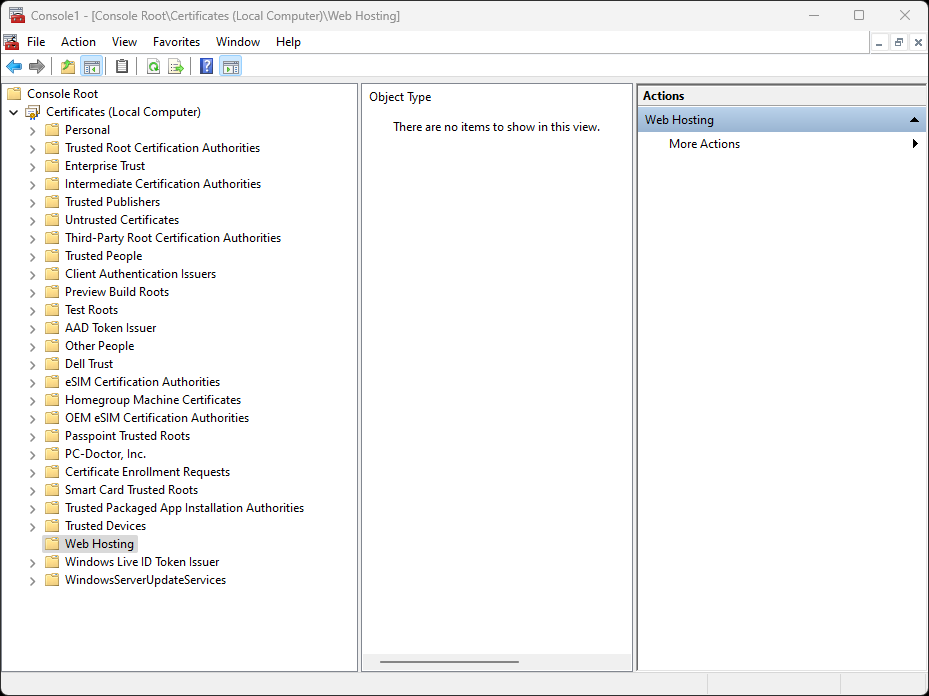
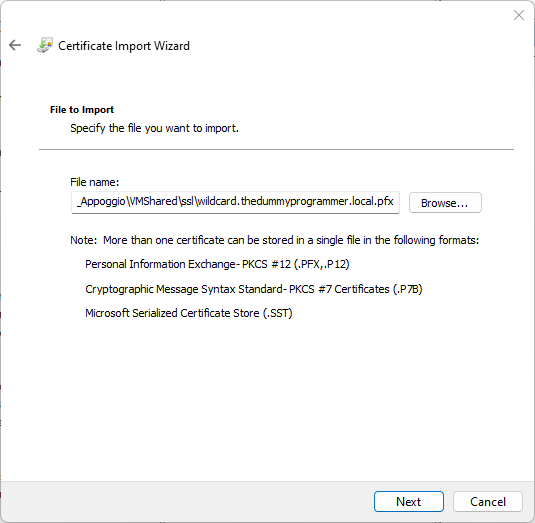
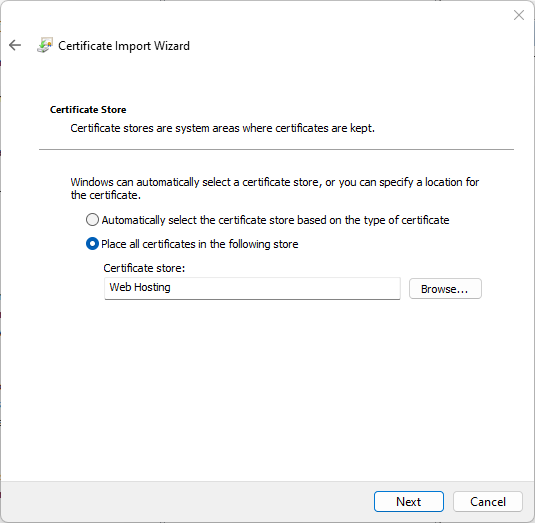
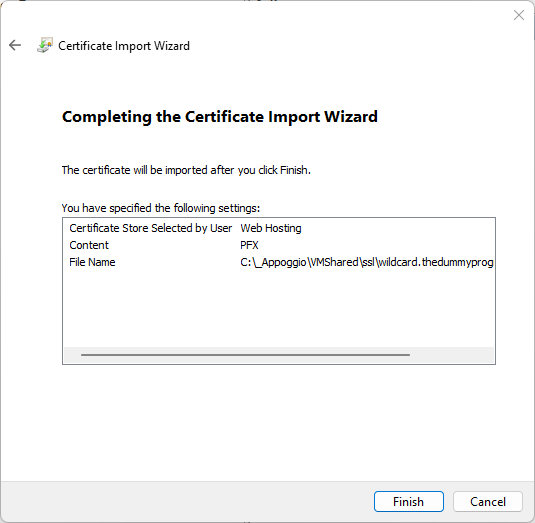
I usually put SSL certificates for my websites in the “Web Hosting” folder. So right click the item “Web Hosting” and then on the menu click on “All tasks” -> “Import”. Select the certificate in format “.pfx” (remember, we created it in the previous post) and import it.
These following are the steps you should run into:
And then…
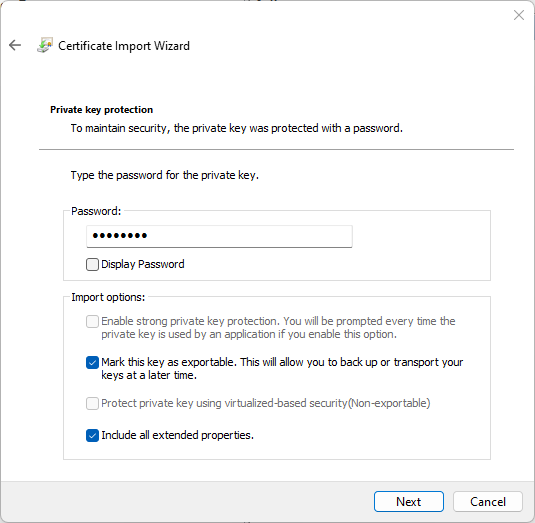
Type the password you used in the certificate creation:
And then…
And at last:
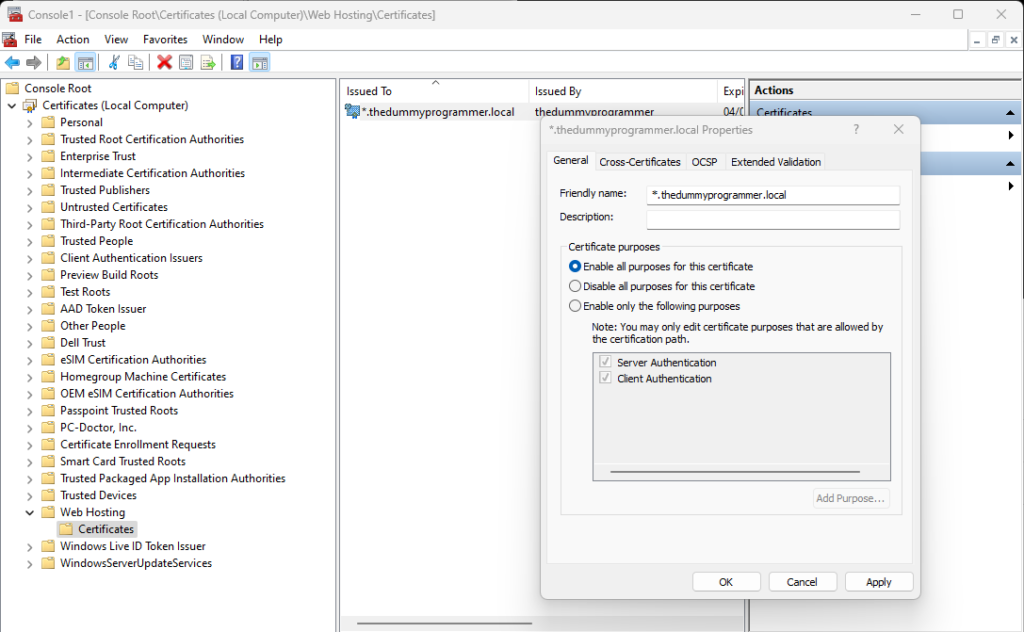
I suggest you to set a friendly name to your new certificate. Just show the properties of the certificate and fill the field “Friendly name”:
After this, go back to IIS Manager, right click the website “www.thedummyprogrammer.local” and click on “Bindings…” in the context menu. Then click “Add…” to add a new binding:
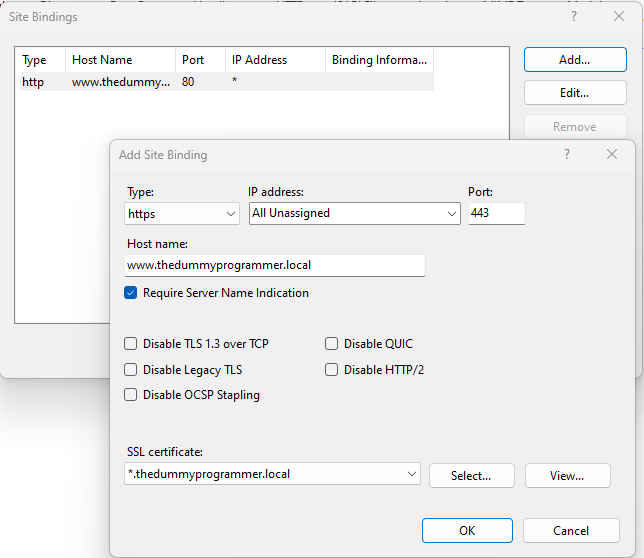
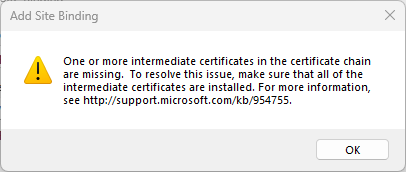
Be sure to check the option “Request Server Name Indication” and in the “SSL certificate” drop down select “*.thedummyprogrammer.local”. After clicking on “OK”, you should receive the warning: “One or more intermediate certificate in the certificate chain are missing. To resolve this issue, make sure that all of the intermediate certificates are installed. For more information see…”
Moreover, if you try to access the website you will see the following:

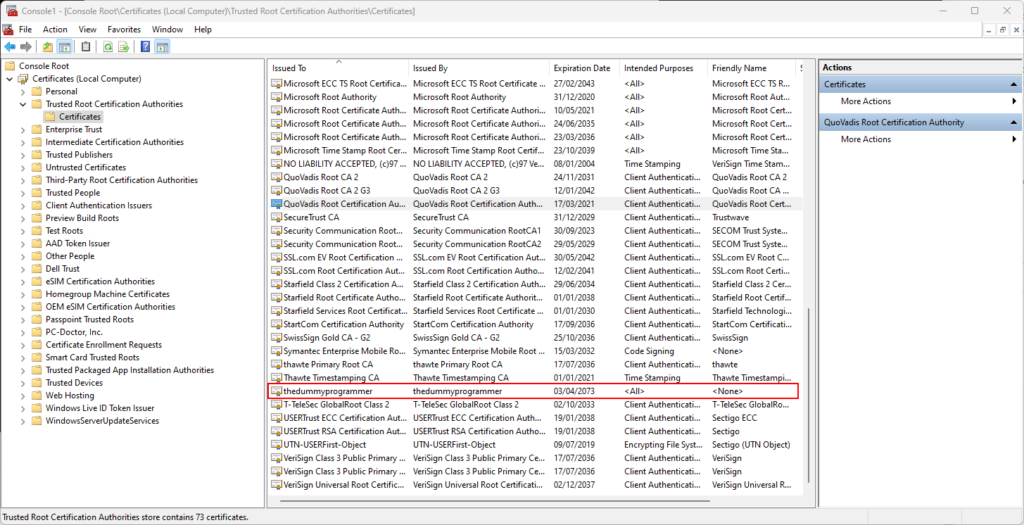
All of this happens because we didn’t load the CA certificate in our PC. So go back to MMC, right click on “Trusted Root Certification Authority” and click on “All tasks” -> “Import…” and in the same way you did for the “wildcard.thedummyprogrammer.local.pfx” file, import the file “thedummyprogrammer.local.ca.pem”.
Your are now ready to test your website with a real SSL certificate!. If you access the website you should see something similar:

But… you may have noticed that there is one big drawback. In this example we used a local website running on my local IIS, so we have just one client, the PC itself. But what if you want to use the certificate on a website running in a LAN and accessible from many PCs?
Unfortunately, you have to install the CA certificate on every single client machine. If your client PCs work in a Windows domain, you can avoid the manual installation by configuring and pushing the certificate into the PCs through a domain group policy.
For other situations, I don’t think there is way, easy or hard, to install the CA certificate automatically to a large number of PCs. But correct me if I’m wrong 🙂