Hello my friends! It’s been a while since we last spoke … but here I am!
Today I want to tell you a new story about my journey through the Linux world: the installation of an old web application developed with Apache ASP and MySql on an Ubuntu 20.04 virtual machine.
The application was developed about fifteen years ago, so we will see how to overcome some compatibility problems encountered during the installation.
We will assume that you have an Ubuntu Linux server with Apache and MySql already installed. In this regard you may find it useful to review these posts:
- Install Ubuntu server as VirtualBox host
- Install LAMP in Ubuntu server
- Self signed certificate with Apache/Ubuntu
But, before we begin, let’s spend some words about Apache ASP.
What is Apache ASP?
I want to explain what Apache ASP is quoting from the official site:
Apache::ASP provides an Active Server Pages port to the Apache Web Server with Perl scripting only, and enables developing of dynamic web applications with session management and embedded Perl code.
In a nutshell, it is a port of the good old ASP (Microsoft Active Server Pages) which can be run in Apache and which uses Perl as its scripting language. If you want to deepen the subject you can find more information on the official website http://www.apache-asp.org/.
Installation steps in Apache
Let’s start enabling the following two Apache’s modules:
- mod_cgid
- mod_rewrite
It’s very easy, just execute the following commands in the terminal:
sudo a2enmod rewrite
sudo a2enmod cgid
sudo service apache2 restart
The next step is install the Apache ASP library. Use the following commands:
sudo apt-get install libapache2-mod-perl2
sudo service apache2 restart
Create a new Apache virtualhost, adding a new file in the directory “/etc/apache2/sites-available”.
Our virtualhost configuration should look like this:
<VirtualHost *:80>
        # The ServerName directive sets the request scheme, hostname and port that
        # the server uses to identify itself. This is used when creating
        # redirection URLs. In the context of virtual hosts, the ServerName
        # specifies what hostname must appear in the request's Host: header to
        # match this virtual host. For the default virtual host (this file) this
        # value is not decisive as it is used as a last resort host regardless.
        # However, you must set it for any further virtual host explicitly.
        ServerName rg-dev.local
        ServerAdmin webmaster@rg-dev.local
        DocumentRoot /var/www/www.rg-dev.local
        ScriptAlias "/cgi-bin/" "/var/www/www.rg-dev.local/cgi-bin/"


        <Directory /var/www/rg-dev.local>
           Options -Indexes +FollowSymLinks +ExecCGI +MultiViews

           AllowOverride All

           Order allow,deny
           Allow from all
        </Directory>

        # Available loglevels: trace8, ..., trace1, debug, info, notice, warn,
        # error, crit, alert, emerg.
        # It is also possible to configure the loglevel for particular
        # modules, e.g.
        #LogLevel info ssl:warn

        ErrorLog ${APACHE_LOG_DIR}/rg-dev.local.error.log
        CustomLog ${APACHE_LOG_DIR}/rg-dev.local.access.log combined

        # For most configuration files from conf-available/, which are
        # enabled or disabled at a global level, it is possible to
        # include a line for only one particular virtual host. For example the
        # following line enables the CGI configuration for this host only
        # after it has been globally disabled with "a2disconf".
        #Include conf-available/serve-cgi-bin.conf
</VirtualHost>
Enable the virtualhost with the following commands:
sudo a2ensite rg-dev.com
sudo service apache2 restart
Enable Perl to access MySql
Since our web application needs to access a MySql database, we need to install the necessary Perl libraries.
We will first install DBI, which is a kind of generic database interface and then install DBD::mysql, which is a specific “database driver” for MySql.
We will install DBI library using CPAN. Type the following command in your terminal:
sudo perl -MCPAN -e shellYour prompt should appear as follow:
cpan[1]>now you can type the following command:
cpan[1]> install DBIThe installation should complete in few moments…
Theoretically we can also use CPAN to install DBD::mysql. You can do this by running the following command in CPAN:
cpan[1]> install DBD::mysqlBut…. it didn’t work… In my case I recevied the following error:
“Failed during this command: DVEEDEN/DBD-mysql-4.050.tar.gz : writemakefile NO ‘/usr/bin/perl Makefile.PL INSTALLDIRS=site’ returned status 512”
Searching on the Internet, someone said that they had overcome the problem running the following command:
sudo apt-get install libmysqlclient-devbefore running “install DBD::mysql” in CPAN. But in my case, it didn’t work too…
I finally solved the problem installing the library using apt, in the following way:
sudo apt-get install -y libdbd-mysql-perlOther problems encountered
The problem with DBD::mysql wasn’t the only one encountered during installation.
When something goes wrong with an Apache website, you may receive the following error:
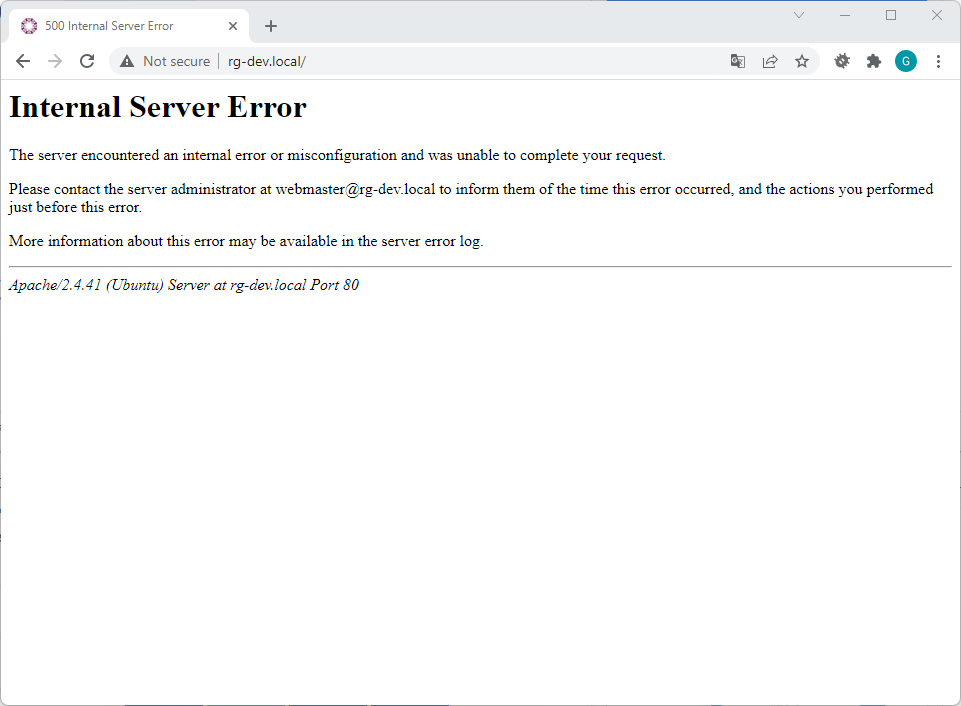
When this happens, the only way to know more is check Apache’s log files, which are usually saved in the the path “/var/log/apache2”. Note that you have to check both the default Apache’s log file “error.log” and the log file you specified in your virtualhost configuration, which in our case is “rg-dev.local.error.log”.
Let’s start with some error message…
Error 1: AH01264: script not found or unable to stat: /usr/lib/cgi-bin/applib
I solved adding the “ScriptAlias” directive in the virtualhost configuration:
ScriptAlias "/cgi-bin/" "/var/www/www.rg-dev.local/cgi-bin/"Error 2: End of script output before headers: app.cgi
This is a generic error logged in the log file defined in the virtualhost configuration, but you can find out more checking the Apache’s default log file, which reported the following error message:
AH00094: Command line: ‘/usr/sbin/apache2’
Can’t use ‘defined(@array)’ (Maybe you should just omit the defined()?) at /var/www/www.rg-dev.local/cgi-bin/applib/main.pm line 201.
Compilation failed in require at /var/www/www.rg-dev.local/applib/appengine.pm line 37.
After investigating a bit, it turned out that was a Perl compatibility problem. As I stated above, this application has about fifteen years, and now I’m trying to run it on the latest Perl version (5.30 in this moment).
In the source code I had something similar:
if ( defined @_ ) {You can find an explanation in this StackOverflow post, but to make it short, changing the code in the following way was enough to overcome the error:
# In Perl 5.30 you can't use defined with arrays!! But in in this case removing "defined" gives the same result :)
if (  @_ ) {
Error 3: syswrite() isn’t allowed on :utf8 handles at /var/www/www.rg-dev.local/cgi-bin/applib/files.pm
This is also a Perl compatibility error. In the source code I had the following line:
binmode $filehandle, ":utf8";Which, to run on Perl 5.30, I rewrote as the following:
binmode($filehandle);This worked in my case. Check carefully if this can works also in your case, since changing character encoding can lead to errors.
Error 4: Authentication requires secure connection
This was a MySql error, which you can run into not only using Apache ASP and Perl, but also using other environments and languages.
To solve, I just altered the MySql user used by the application specifying the option “mysql_native_password”:
ALTER USER 'rgdev'@'localhost' IDENTIFIED WITH mysql_native_password BY 'setyournewpassword';Error 5: Error Code: 1067. Invalid default value for ‘fieldname’
Recent versions of MySql do not allow you to set the value ‘0000-00-00 00:00:00’ as the default value of a DateTime field. For backward compatibility you can set the “sql_mode” option.
Open the file /etc/mysql/mysql.conf/mysqld.conf/mysqld.cnf and add the following line:
sql_mode = "NO_ZERO_DATE"Note that the “sql_mode” parameter may already be present. If this is the case, the “NO_ZERO_DATE” option must be added to the others, as you can see here:
sql_mode = "option1,option2,...,NO_ZERO_DATE"And don’t forget to restart MySql service:
sudo service mysql restartConclusions
We have come to the end of this post. We have the necessary steps to install an environment in which to run an old Apache ASP application and how to overcome some issues.
I hope it will be useful to you!