Good morning folks!
In my previous post I promised that we would create a new virtual machine in our VirtualBox installation. There are many free options and today I want to show you how to install CentOS 8, which is a Linux distribution based on RedHat.
Create an empty virtual machine
To begin, open the Oracle VM Virtual Box Manager and from the menu “Machine” click on “New…”.
The following configuration popup will appear:
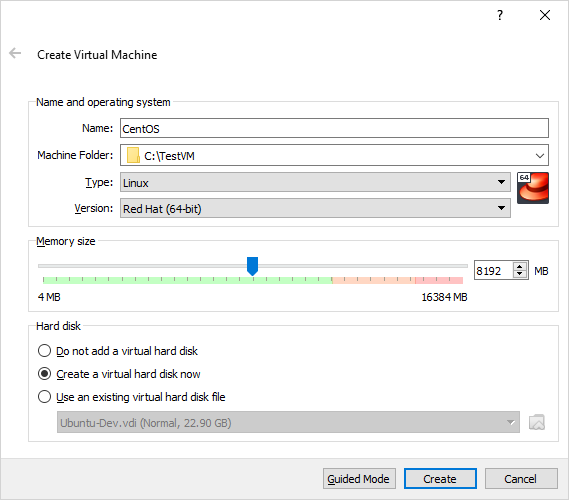
In the “Name” field write your virtual machine name. Note that here there is a nice feature: the VirtualBox Manager will try to detect Type and Version of the virtual machine from the name you typed.
So if you write “CentOS”, the fields “Type” and “Version” are automatically populated with “Linux” and “Red Hat (64-bit)”. The only thing remaining is configure the path where you want to save the virtual machine files, which you can do filling the “Machine folder” field.
In the “Memory size” section, choose how much memory you want to devote to the virtual machine. In my case I chose half of the system memory (about 8Gb).
In the “Hard disk” section, select the option “Create a virtual box hard disk now” and then press “Create”.
When you click on “Create”, the following window will appear:
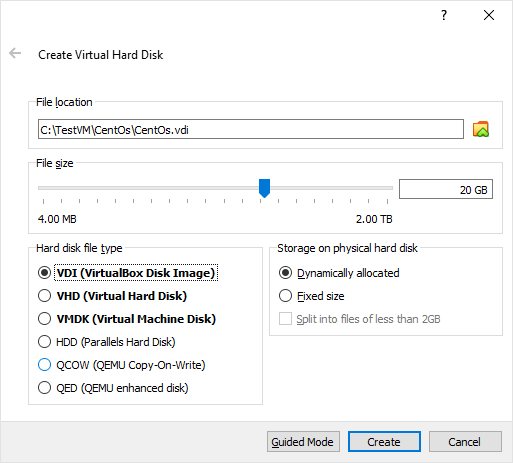
Using the slider, you can select the size of your virtual machine’s hard disk. You can leave the other options as they are, and click on “Create”.
Start the operating system installation
We just configured the empty virtual machine. Now it’s time to execute the setup to install the operating system.
You can see your new virtual machine in the left panel of the VirtualBox Manager. Before you turn it on, you have to download the CentOS ISO image from https://www.centos.org/download. Be sure to select the “x86_64” iso image.
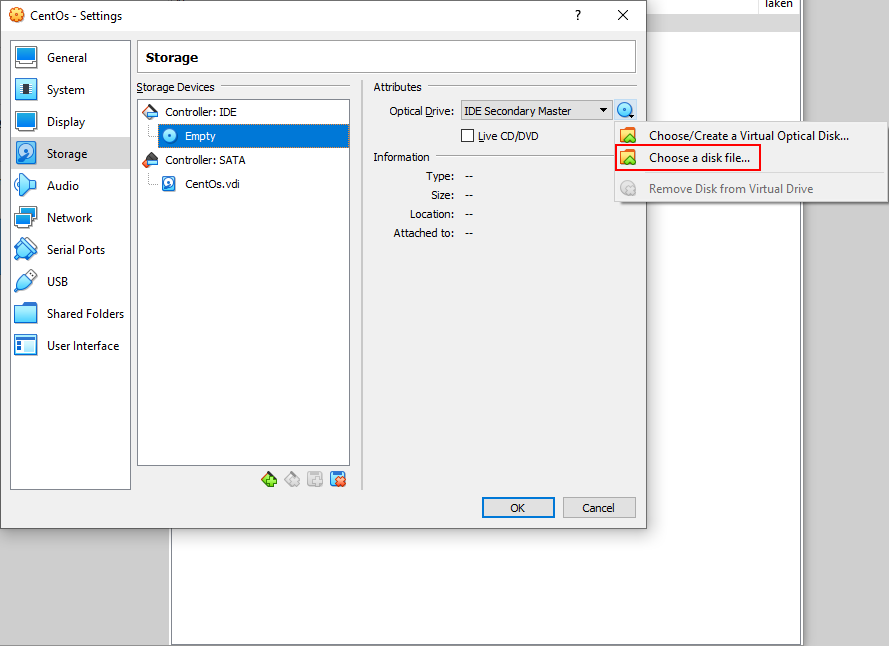
Once the download is completed, we have to mount the CentOS ISO image in our virtual machine. To do that, select the virtual machine in the left panel, and click “Settings” in the toolbar.
In the “Settings” window:
- click on the “Storage” section
- under “Controller IDE”, click on “Empty”
- on the right side, click the disk icon to show a popup menu
- in the popup menu select “Choose a disk file” and select the CentOS image you downloaded
- click on the “OK” button
Now you have to click on the “Start” button to switch on your new virtual machine. The CentOS boot menu will appear:
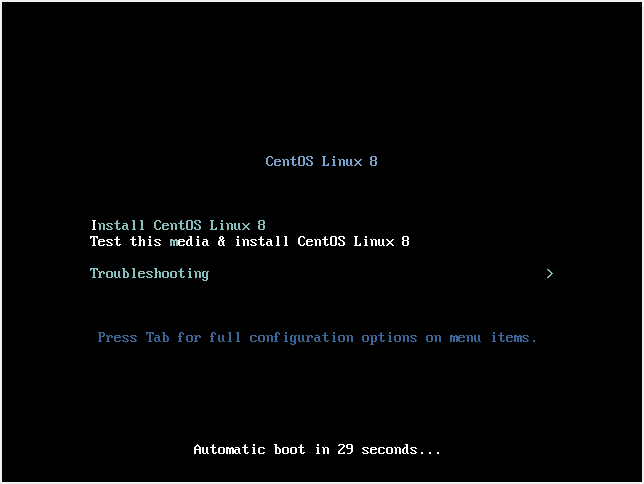
Select the item “Install CentOS Linux 8” and click “Enter”.
The installation is quite simple, we will see some steps in the following screenshots.
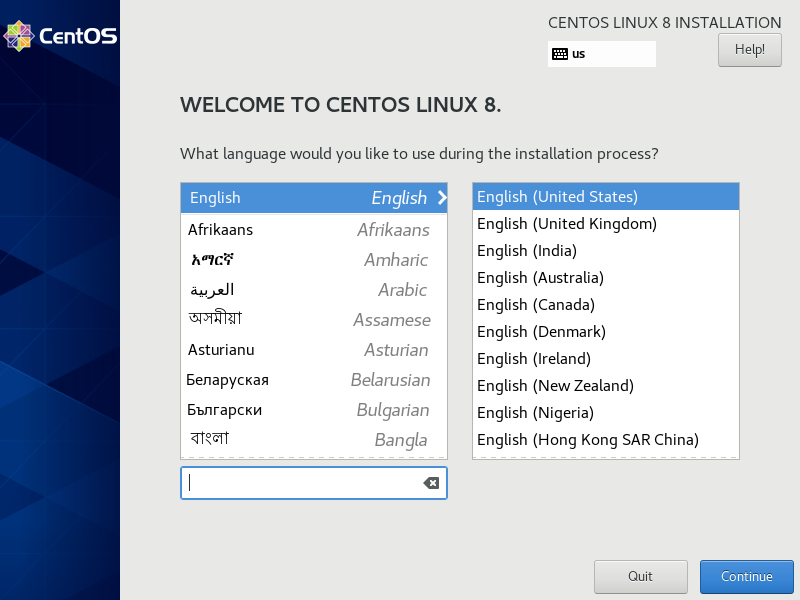
Here you can select the installation language:
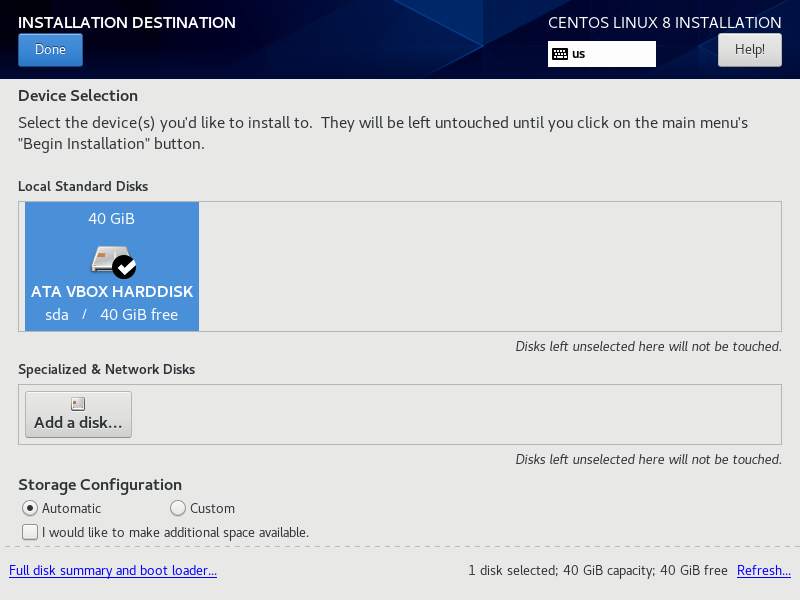
Here you can select the drive where you want to install the operating system:
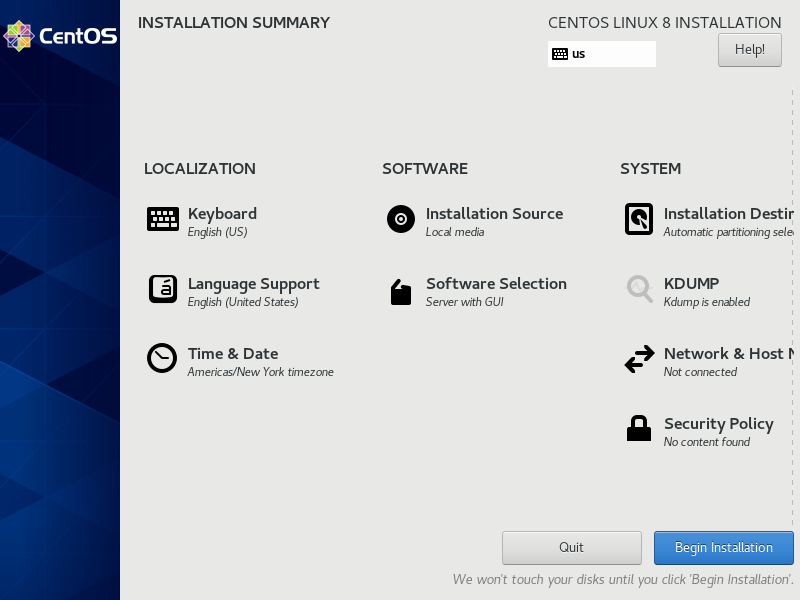
Review the installation summary and then click on the “Begin installation” button:
The installation is running…
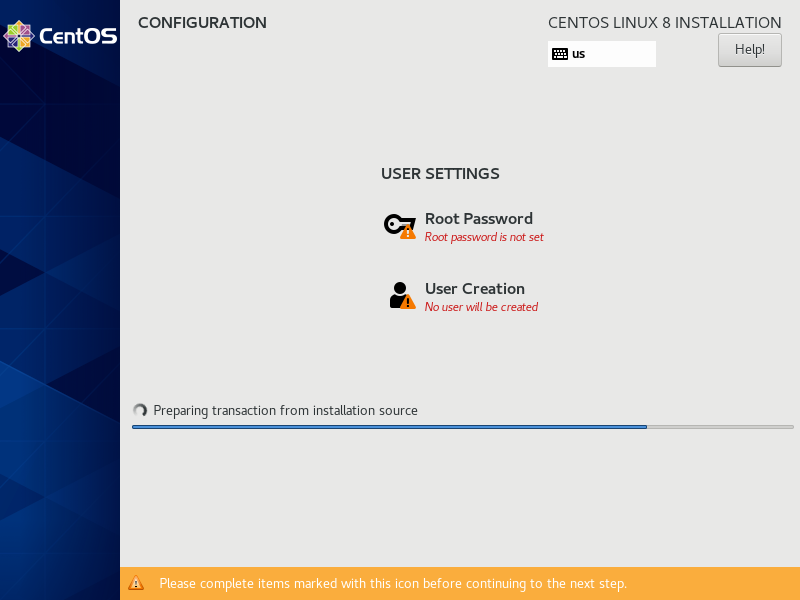
Meanwhile, if you click on the “Root Password” button you can set the root password (the root user is like a Windows administrator user). So choose a password and set it, as you can see in the following form:

Click on “Done” to confirm the password.
When the installation is completed you will see the following:
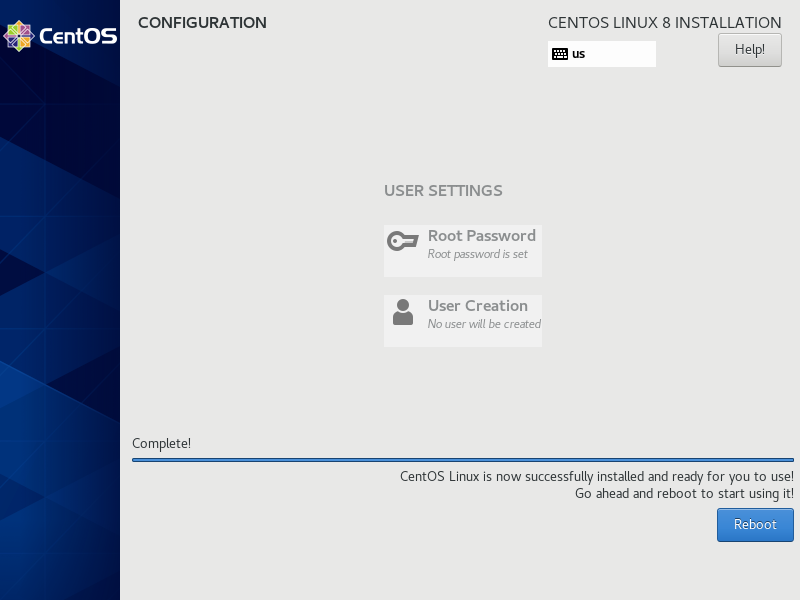
Click “Reboot” to restart the virtual machine and begin using it 🙂
Final configuration
After the reboot, there is an initial configuration that we have to complete.
First of all you have to accept the license agreement, so click on the button “License information”.
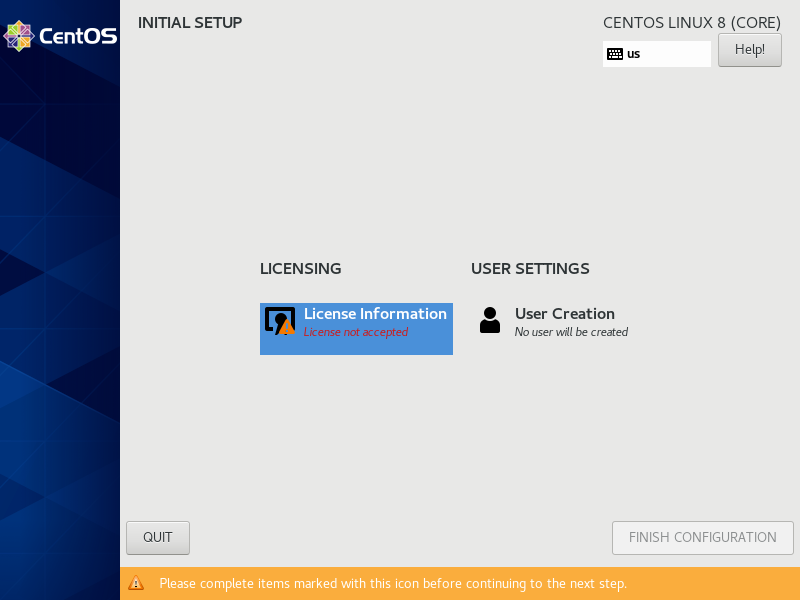

Click on the “Finish configuration” button.

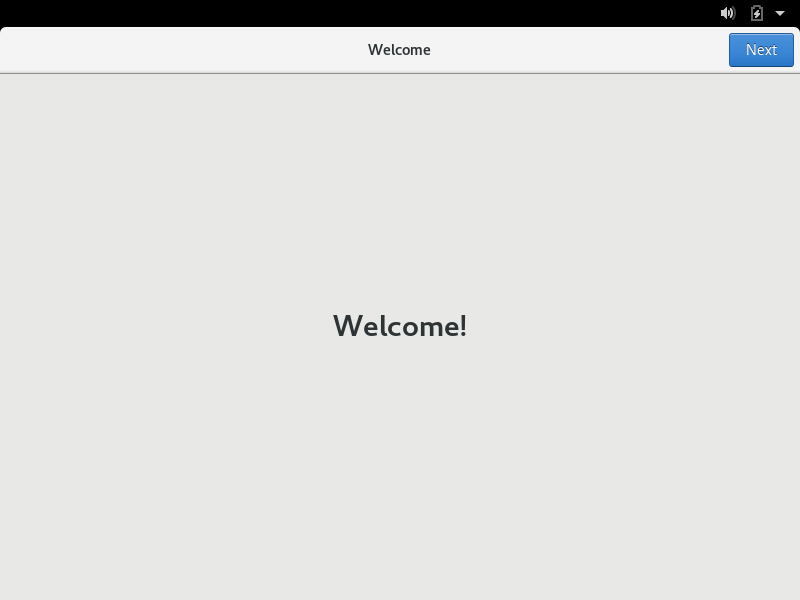
Some more steps…
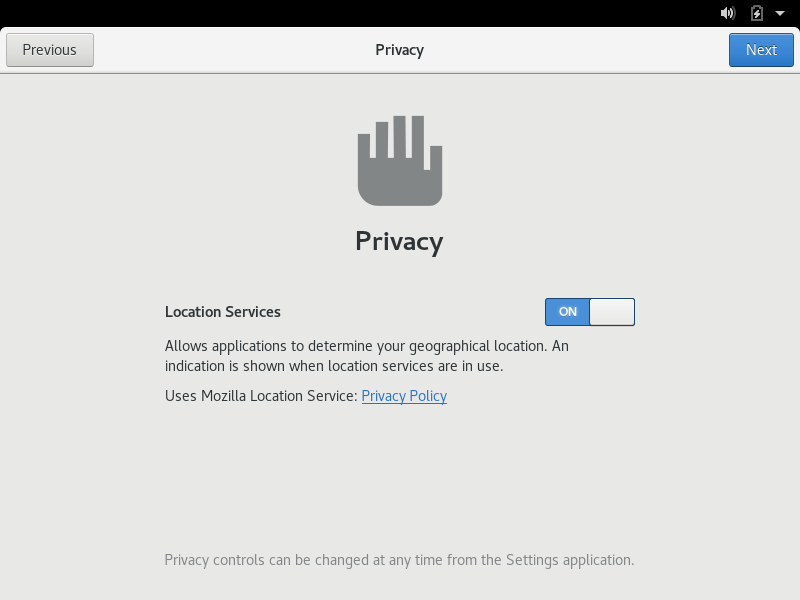
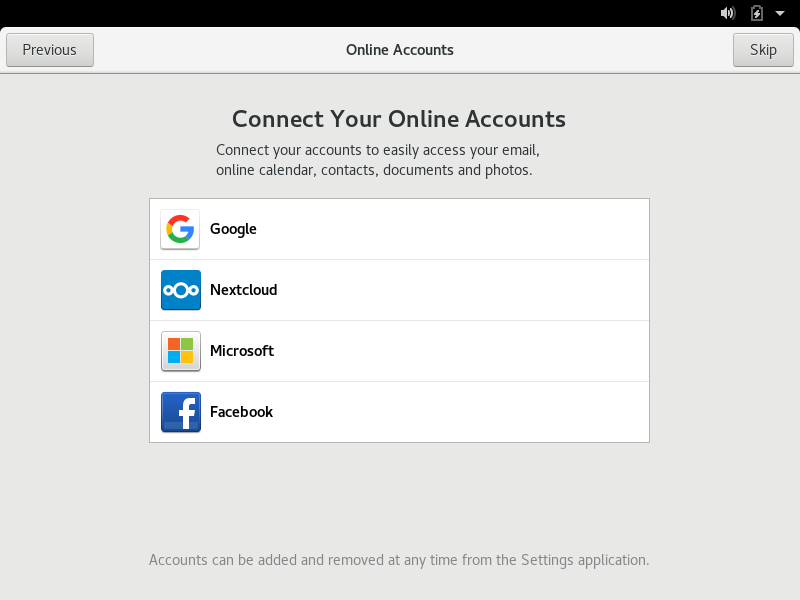
Skip, if you want, the connection to an external account…
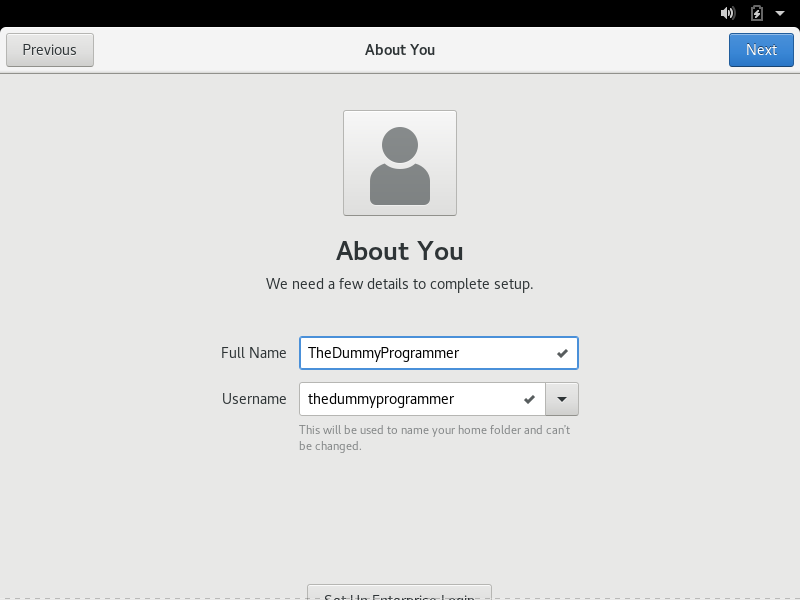
An important step, is configure your user account:
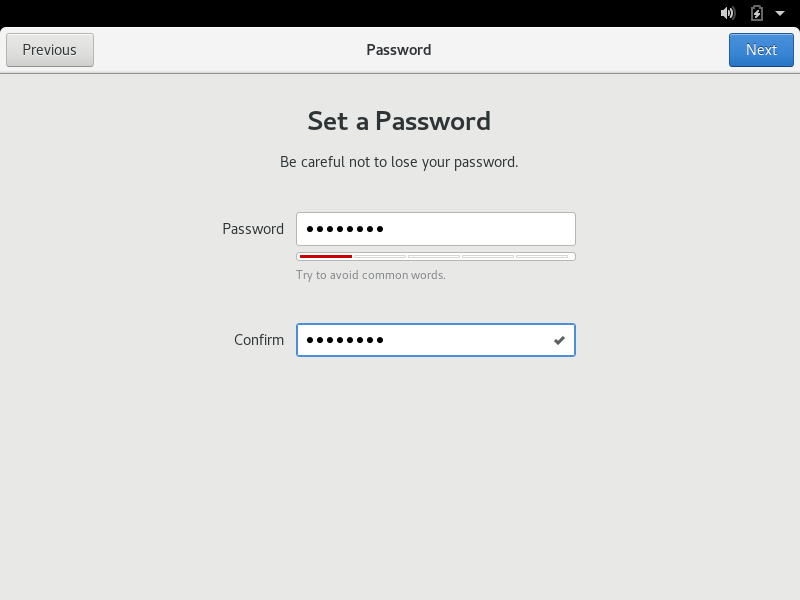
We almost completed the installation…
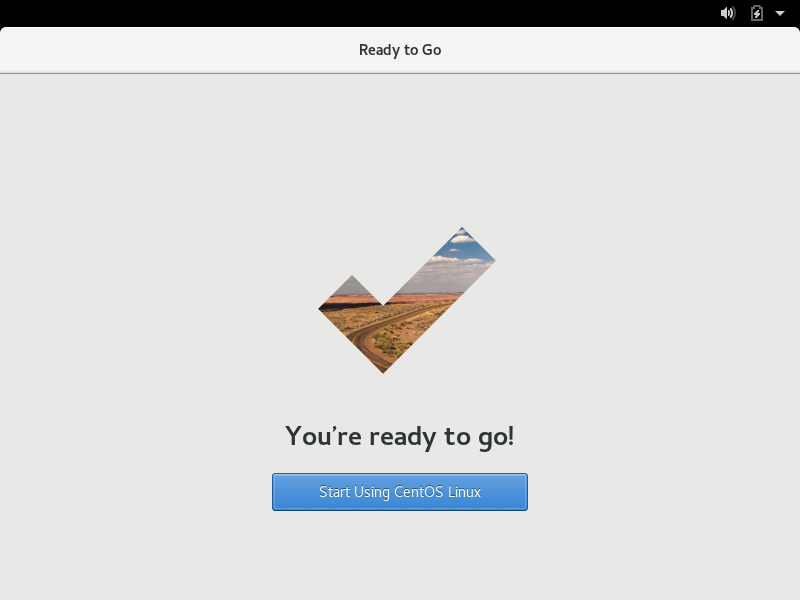
Now you could start using CentOS in your virtual machine. I said “could” because one more thing is missing: the installation of VirtualBox Guest Additions. We will see it in the next post…
Bye Bye!!