Skip to content

The Dummy Programmer

Stories of daily programming

  • Home
  • My other dummy projects
  • Games
    • Space Y: An Asteroids clone
  • Services
    • What’s my user agent
    • What’s my IP address
  • About
  • Toggle search form

Configure a PHP development environment in Windows (part 2 of 4)

Posted on September 5, 2020September 6, 2020 By

And here we are again, talking about the configuration of a PHP development environment in a Windows 10 desktop. In the previous post we saw how to configure the PHP runtime to work in IIS.

In this post we will see how to install NetBeans (a free IDE) to start developing our PHP projects (we deserve something better of notepad!).

Let’s go…

NetBeans download and installation

Before talking about the installation, let’s spend some word about NetBeans. Netbeans is a free IDE (Integrated Development Environment) mainly born to create Java applications. Over time has been extended to support other programming languages, like PHP. I believe is a good choice to develop your PHP applications, but as many other things, is a matter of opinion…

Since NetBeans has been developed in Java, it requires the Java SE Development Kit to be installed. You can find it at this URL:

https://www.oracle.com/java/technologies/javase-jdk14-downloads.html

Usually I download and execute the Windows x64 installer. You will see something like this:

Start JavaSE installation wizard

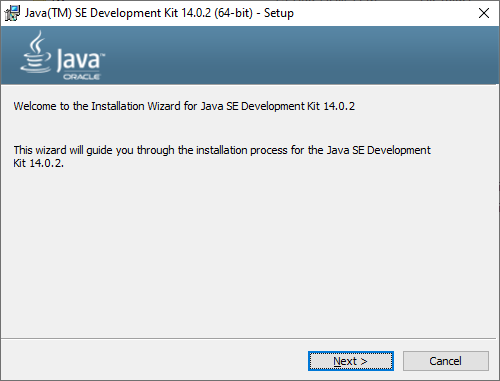
Follow all the installation steps, until you finally reach this form:

JavaSE installation completed.

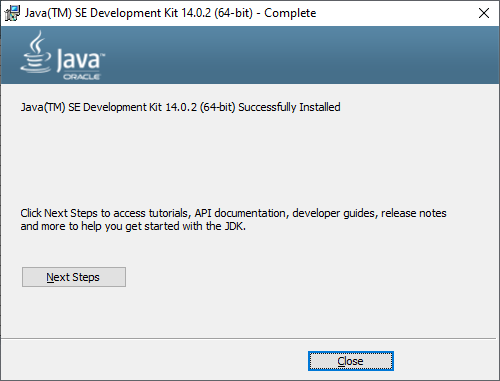
With JavaSE we are done. Let’s proceed with download and installation of NetBeans.

You can download NetBeans at the following URL: https://netbeans.apache.org/download/nb120/nb120.html

After the download is complete, execute the setup. You will see the following window:

Begin NetBeans installation

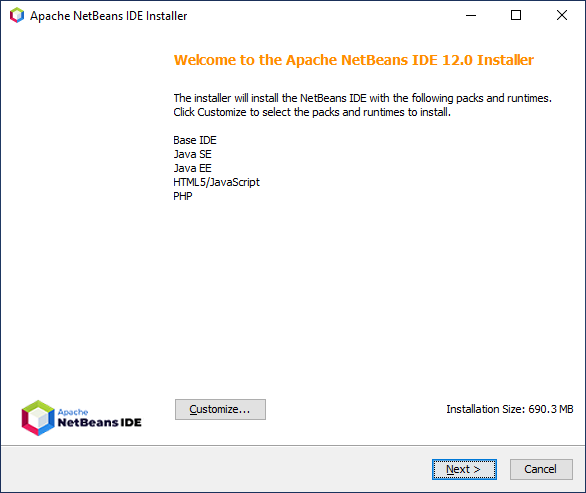
Click “Next” to move on.

NetBeans license agreement

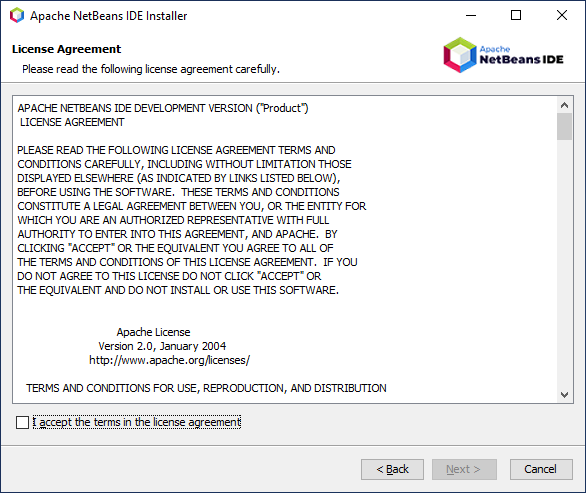
Accept the license agreement and click “Next”.

NetBeans installation path

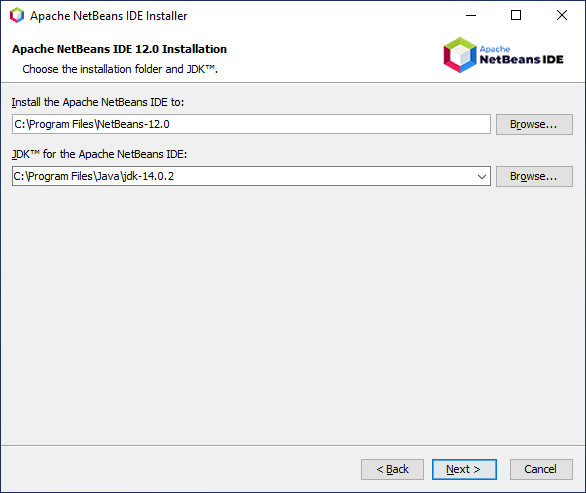
As you can see, the setup wizard will propose the installation path of NetBeans and the path where the JDK resides (you installed it a moment ago). Again click “Next” to proceed.

Quite ready to begin NetBeans Installation

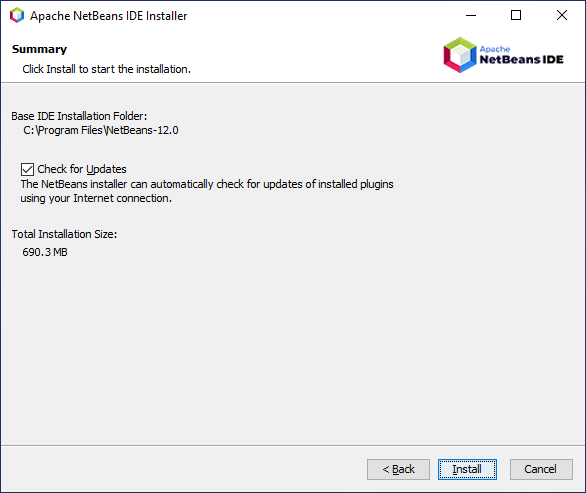
In the “Summary” window click “Install”.

A new window will appear, constantly updated with the progress of the installation.

NetBeans installation in progress...

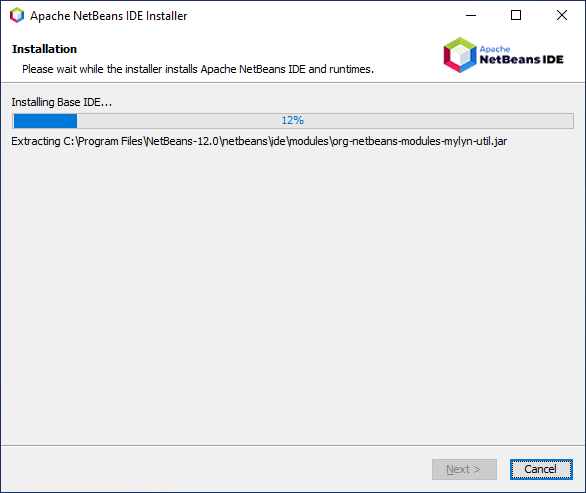
You just have to wait a while….

In few moments you will be ready to launch your new IDE. And here it is in all is glory:

NetBeans installation completed. Now you can run it...

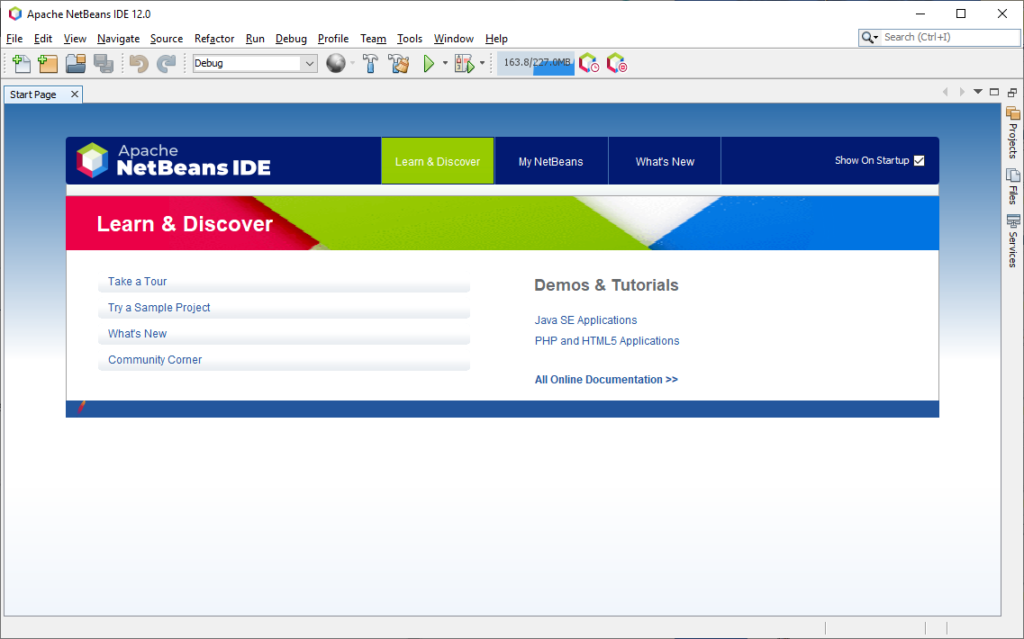
We are ready to use it. In the next posts we will see how to install and configure XDebug to allow PHP application debugging and how to create our first PHP project in NetBeans.

PHP, Web programming, Windows, Windows 10

Post navigation

Previous Post: Configure a PHP development environment in Windows (part 1 of 4)
Next Post: Configure a PHP development environment in Windows (part 3 of 4)

Related Posts

Create a folder starting with dot in Windows Windows
Windows 10 search no more working!! Windows 10
FuelPHP & PHP installation issues FuelPHP
Configure a PHP development environment in Windows (part 1 of 4) PHP
Configure a PHP development environment in Windows (part 4 of 4) MySql
Dell Inspiron 15 7000 – No Networks Found Windows

Search

Related posts

  • Configure a PHP development environment in Windows…
  • Configure a PHP development environment in Windows…
  • Configure a PHP development environment in Windows…
  • Is Environment.TickCount reliable?

Categories

  • .NET 6 (1)
  • .NET 7 (1)
  • AJAX (1)
  • Android (2)
  • Apache (4)
  • ASP.NET (9)
  • ASP.NET MVC (3)
  • Avalonia UI (1)
  • BCP (1)
  • Bitlocker (2)
  • C# (14)
  • CentOS (4)
  • ClosedXML (1)
  • CLR (1)
  • DNS (1)
  • Encryption (3)
  • Excel (2)
  • FuelPHP (3)
  • Games (2)
  • Google Chrome (1)
  • GSuite (1)
  • HTML (1)
  • Imagick (2)
  • Javascript (1)
  • Kindle (1)
  • LAMP (3)
  • Linux (7)
  • MariaDB (2)
  • Mathematics (2)
  • MySql (4)
  • NPOI (1)
  • Office 365 (1)
  • Perl (1)
  • PHP (6)
  • Programming (1)
  • Remote desktop (1)
  • SFTP (2)
  • Sockets (3)
  • Sql Server (20)
  • Sql Server 2016 (14)
  • Sql Server 2019 (1)
  • SSL (4)
  • Task scheduler (1)
  • Telerik ASP.NET AJAX (2)
  • The Dummy Programmer Chat (2)
  • Threading (5)
  • Tools (1)
  • TPL (3)
  • TypeScript (3)
  • Ubuntu (4)
  • Virtualization software (3)
  • Visual Studio (1)
  • Visual Studio Code (2)
  • VueJS (1)
  • Web fonts (1)
  • Web programming (6)
  • Windows (12)
  • Windows 10 (15)
  • Windows Forms (1)
  • Windows Server (6)

Copyright © 2024 The Dummy Programmer | Privacy Policy | Terms of use |

Powered by PressBook Masonry Dark

Manage Cookie Consent
This site doesn’t collect user personal data and doesn’t install profiling or analytical cookies, either its own or from third parties. Read our privacy policy for more info.
Functional Always active
The technical storage or access is strictly necessary for the legitimate purpose of enabling the use of a specific service explicitly requested by the subscriber or user, or for the sole purpose of carrying out the transmission of a communication over an electronic communications network.
Preferences
The technical storage or access is necessary for the legitimate purpose of storing preferences that are not requested by the subscriber or user.
Statistics
The technical storage or access that is used exclusively for statistical purposes. The technical storage or access that is used exclusively for anonymous statistical purposes. Without a subpoena, voluntary compliance on the part of your Internet Service Provider, or additional records from a third party, information stored or retrieved for this purpose alone cannot usually be used to identify you.
Marketing
The technical storage or access is required to create user profiles to send advertising, or to track the user on a website or across several websites for similar marketing purposes.
Manage options Manage services Manage {vendor_count} vendors Read more about these purposes
View preferences
{title} {title} {title}