Skip to content

The Dummy Programmer

Stories of daily programming

  • Home
  • My other dummy projects
  • Games
    • Space Y: An Asteroids clone
  • Services
    • What’s my user agent
    • What’s my IP address
  • About
  • Toggle search form

Configure a PHP development environment in Windows (part 3 of 4)

Posted on September 12, 2020September 12, 2020 By

Good morning folks! Here we are with another post about configuring a PHP development environment in a Windows PC. In the previous post we saw how to download and install the free NetBeans IDE. Now we are going to make another important step: configure XDebug to allow step by step debugging of your PHP applications inside NetBeans.

Download and install XDebug

To download XDebug just go to the official XDebug website download page:

https://xdebug.org/download

and look for the section “Windows binaries”. You will see something similar:

An excerpt of the XDebug download page

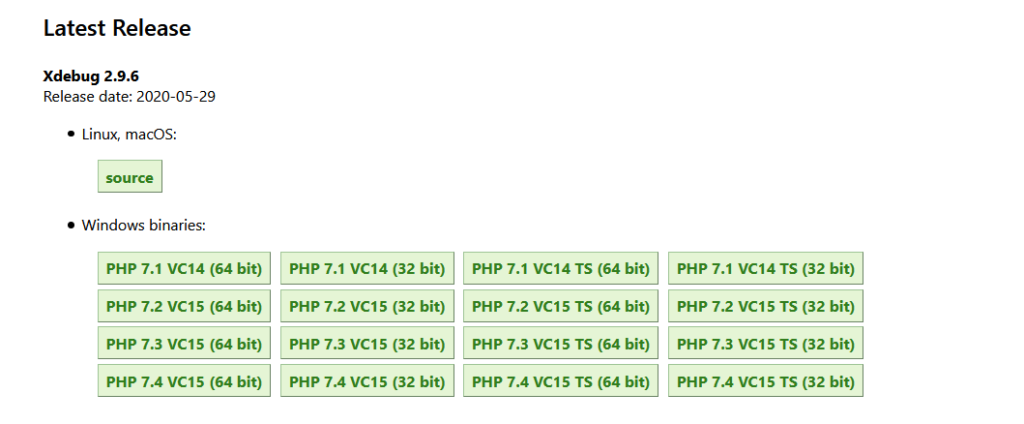
Now you have to choose the appropriate version. In my case, since I installed PHP 7.4.9 non thread safe and I’m running a 64bit operating system, I have to download “PHP 7.4 VC15 (64bit)”.

The download consists of a single DLL to be copied to the PHP runtime extensions folder. In my case the folder is “C:\php_7_4_9\ext” and, if you followed my previous posts, it should be the same for you.

Now open php.ini in your PHP runtime folder and add the following text block at the end of the file. Restart IIS when you are done to load the new configuration file.

[xdebug]
zend_extension="C:\php_7_4_9\ext\php_xdebug-2.9.6-7.4-vc15-nts-x86_64.dll"
xdebug.remote_enable=1
xdebug.remote_handler=dbgp
xdebug.remote_host=localhost
xdebug.remote_port="9000"

Remember to modify the path to the xdebug extension if needed.

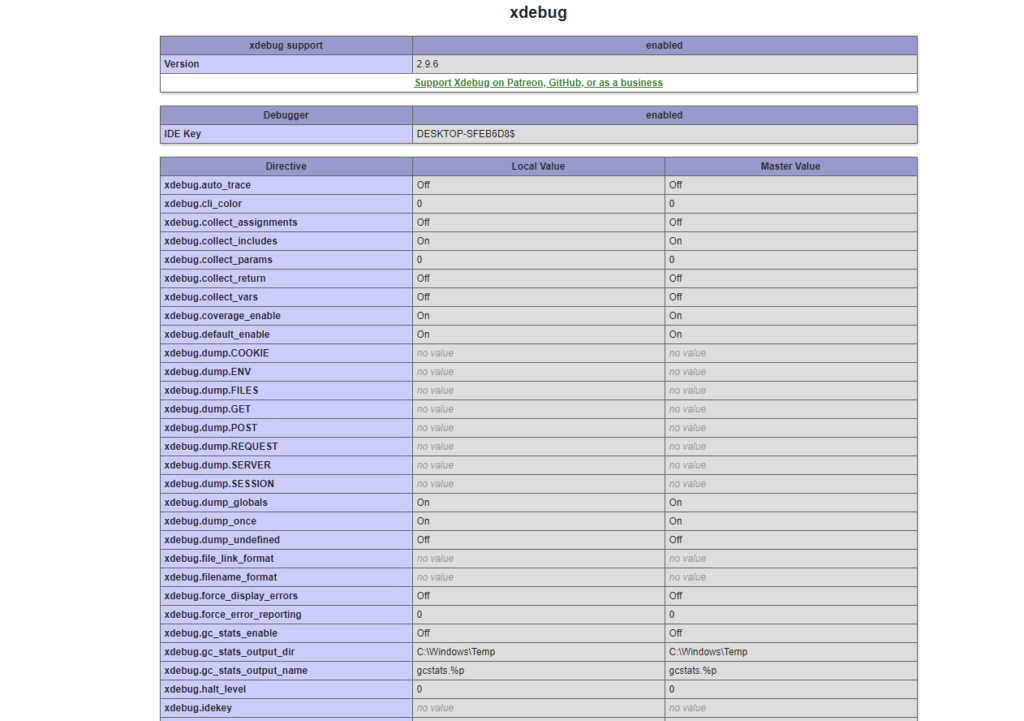
Now if you run a page with a call to “phpInfo()” (see my previous post), you will see a section dedicated to XDebug, as you can see in the following screenshot:

The XDebug section of phpInfo()

Configuring NetBeans

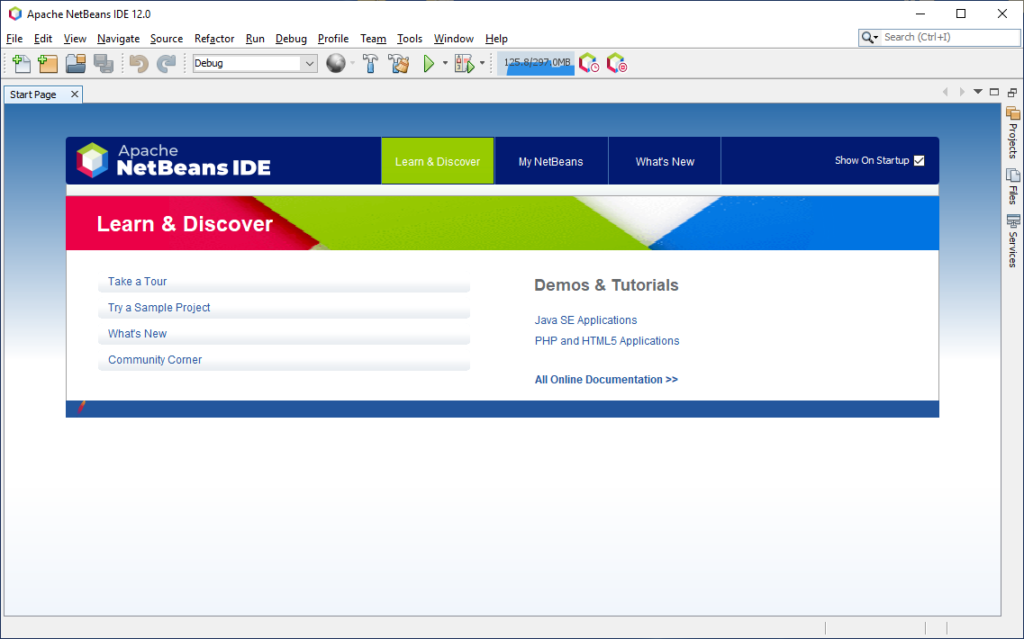
First of all run NetBeans. You should see something similar:

NetBeans main page

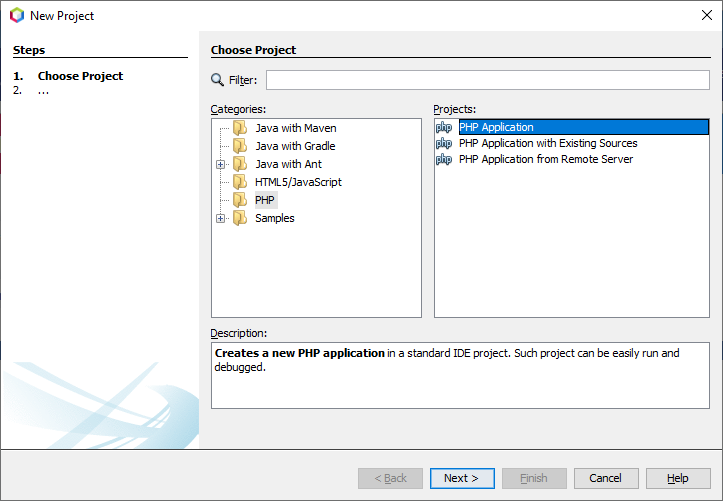
From menu “File” click on “New Project…”, to load the “New project” window. In the left panel, select “PHP”. In the right panel click “PHP Application” and click “Next”.

Creating a new PHP project, step 1

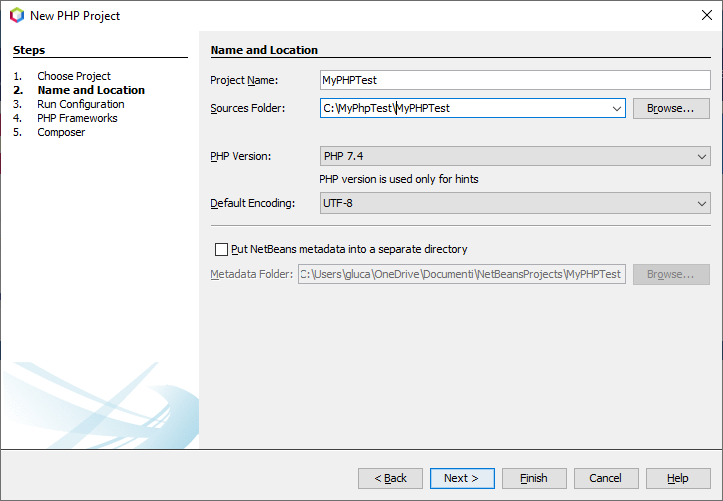
In the following window, fill the project name, and the path where you want to save your project. You also have to select the PHP version (as explained only for hints) and the default encoding, which I left to the default UTF-8. Again, click “Next”.

Creating a new PHP project, step 2

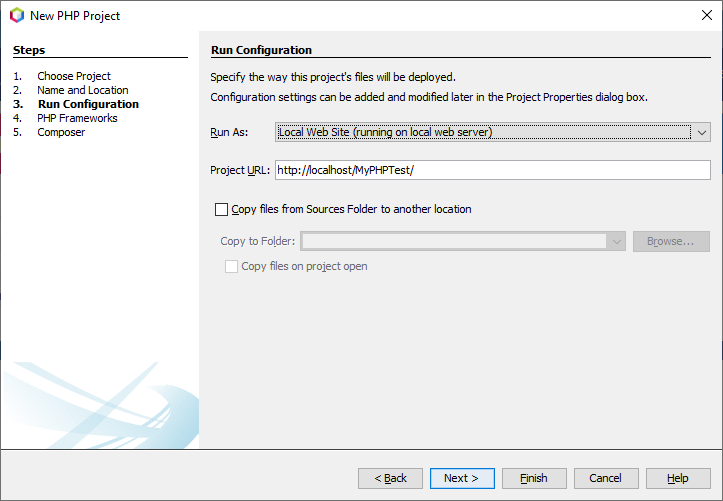
In the “Run Configuration” step, select “Local Web Site” (don’t worry, we are going to configure IIS in a moment!). In the “Project URL” field, I left the proposed value. Using the proposed value allow us to use IIS default website, without creating an additional website in IIS.

Creating a new PHP project, step 3

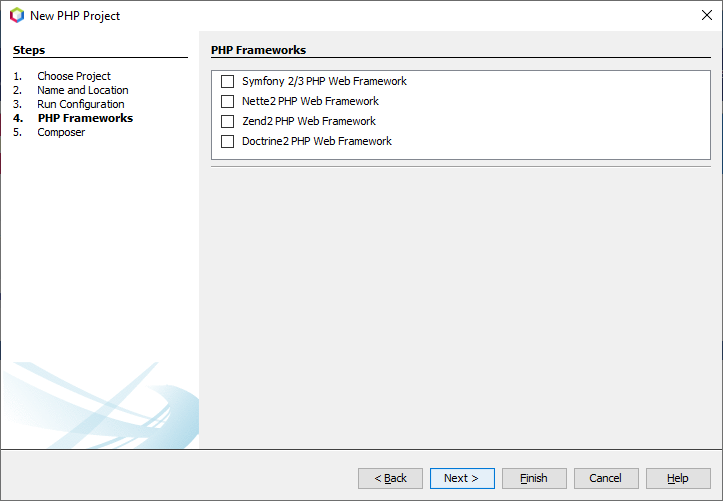
In the “PHP Frameworks” step, leave all the checkboxes empty and click “Next”.

Creating a new PHP project, step 4

The same for the “Composer” step…

Creating a new PHP project, final step

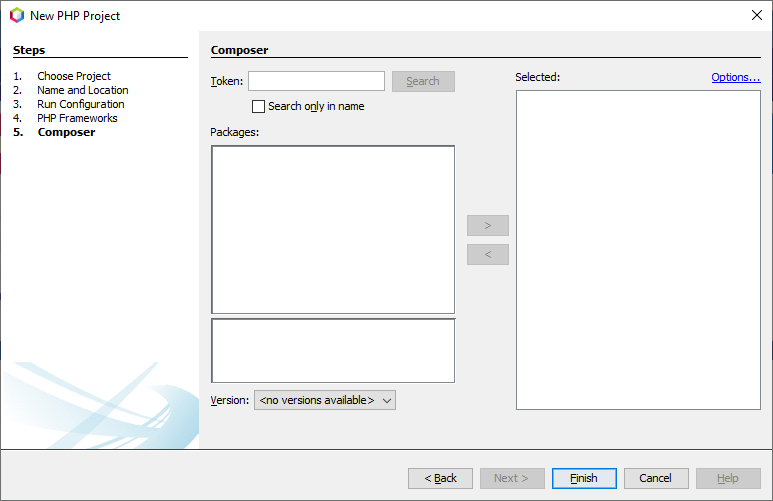
You can leave NetBeans for a moment. We are going to configure IIS now…

Configuring IIS

It’s time to configure IIS. To do this, load IIS manager, click with the right mouse button on the default website and click on “Add Virtual Directory…”.

Configure a virtual directory in IIS default website

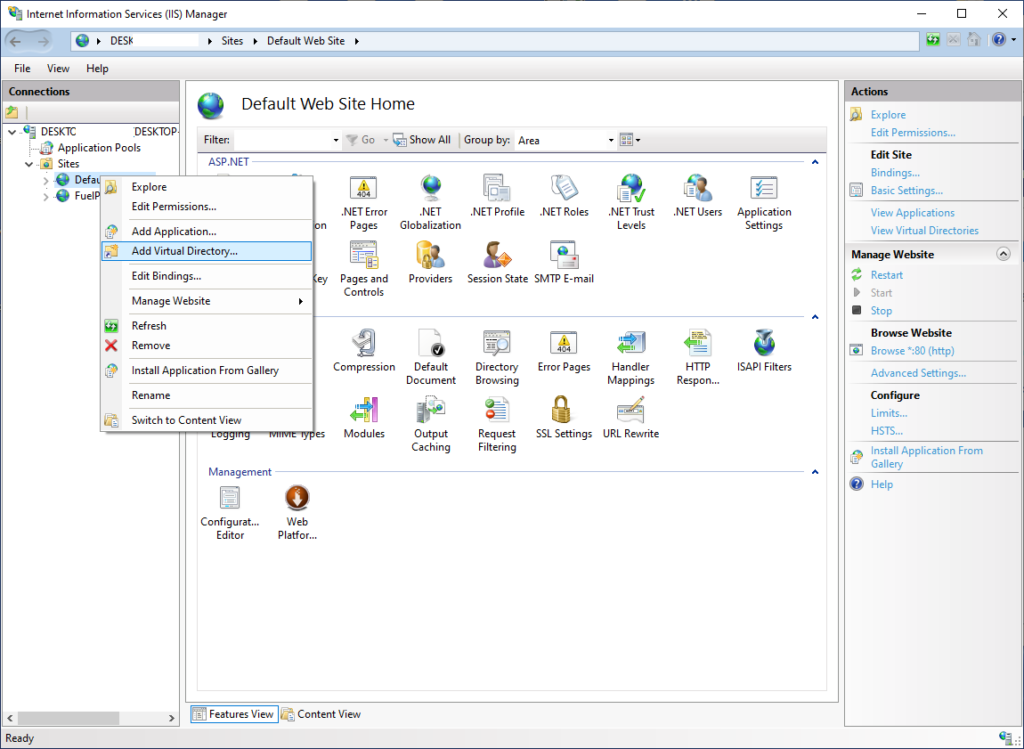
The following window will appear. Fill the “Alias” and “Physical path” fields. Obviously the physical path must match the one used to create the PHP project in NetBeans. Click “OK” to confirm.

Virtual directory details

We are quite ready… I usually configure the default document in my virtual directory. You can do this in the following way. In IIS Manager main window, double click on “Default Document”.

Configure a default document in virtual directory

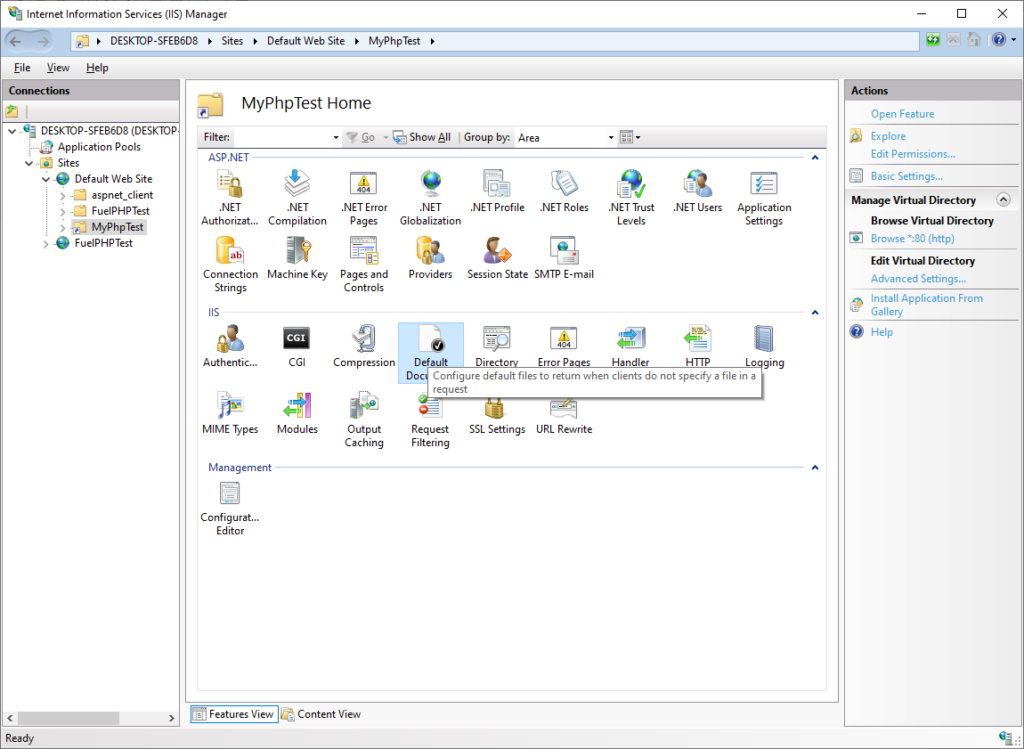
And in the following window, insert the name of the default document, in my case “index.php”. Click “OK” to confirm.

Default document details

Back to NetBeans…

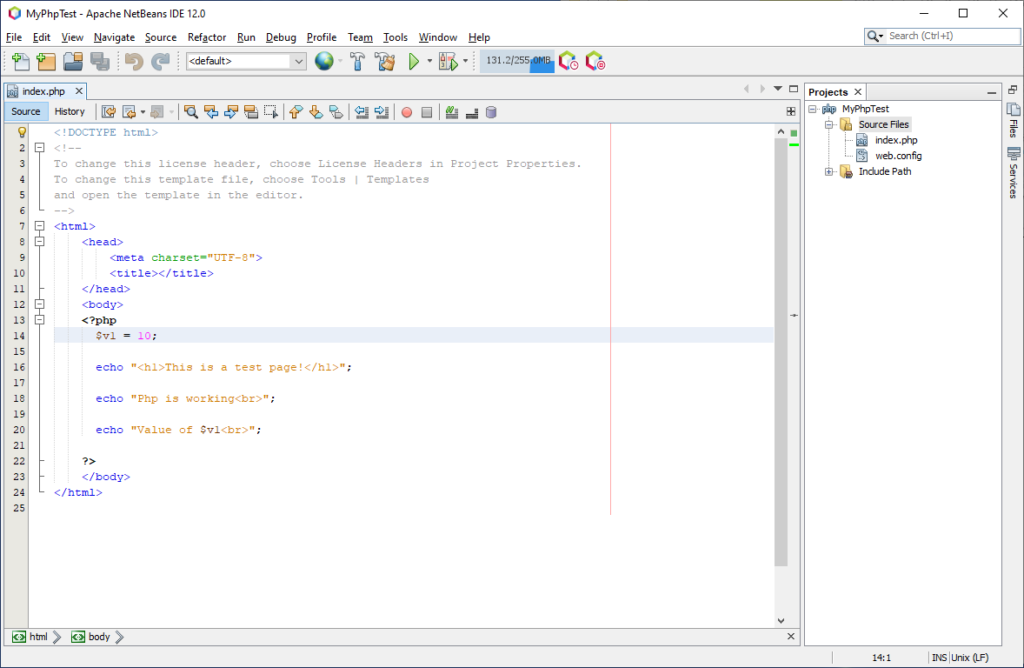
We are ready to return to NetBeans and create a dynamic PHP page to test our configuration. Add new PHP web page to the project and add the following code in the body of the page:

    <?php
      $v1 = 10;

      echo "<h1>This is a test page!</h1>";

      echo "Php is working<br>";
      
      echo "Value of $v1<br>";
      
    ?>

You should have something similare to the following screenshot:

NetBeans with a PHP page opened inside

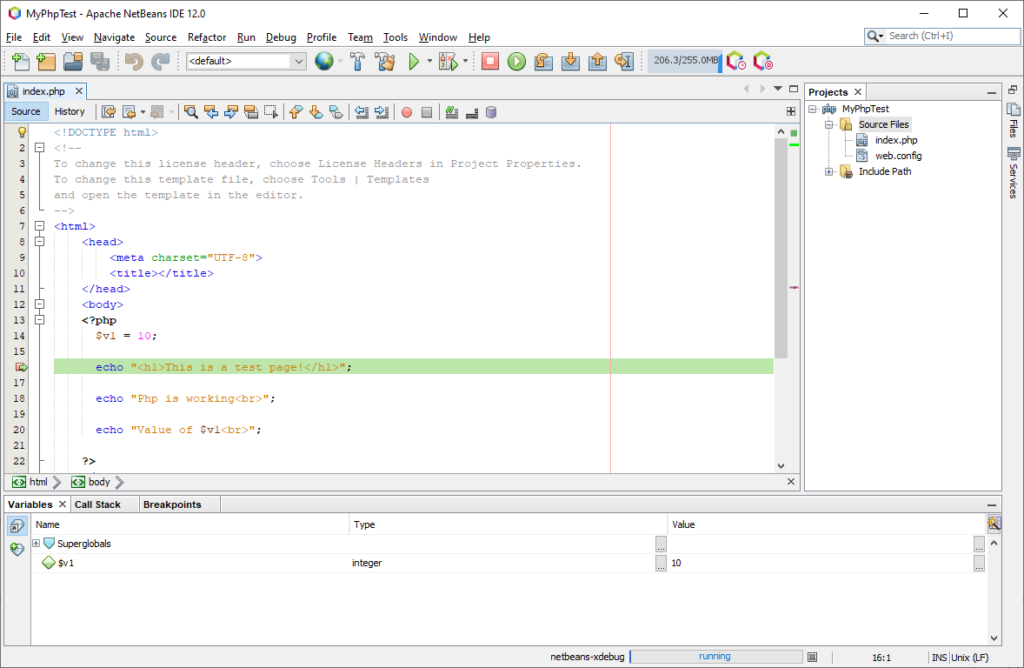
Now insert a breakpoint in one of the lines of the PHP source code and start application debugging.

Et voilà… NetBeans will allow you to step row by row in the source code, watch variables values as so on, like any other debugging environment.

Debugging PHP code with NetBeans

Hope this will be useful…. see you next time!

PHP, Web programming, Windows, Windows 10

Post navigation

Previous Post: Configure a PHP development environment in Windows (part 2 of 4)
Next Post: Configure a PHP development environment in Windows (part 4 of 4)

Related Posts

Google Chrome OnBlur endless loop Google Chrome
Dell Inspiron 15 7000 – No Networks Found Windows
Windows 10 search no more working!! Windows 10
Quickly open the startup folder in Windows 10 Windows
Is Environment.TickCount reliable? C#
HTML AJAX image upload & preview with JQuery and PHP AJAX

Search

Related posts

  • Configure a PHP development environment in Windows…
  • Configure a PHP development environment in Windows…
  • Configure a PHP development environment in Windows…
  • Is Environment.TickCount reliable?

Categories

  • .NET 6 (1)
  • .NET 7 (1)
  • AJAX (1)
  • Android (2)
  • Apache (4)
  • ASP.NET (9)
  • ASP.NET MVC (3)
  • Avalonia UI (1)
  • BCP (1)
  • Bitlocker (2)
  • C# (14)
  • CentOS (4)
  • ClosedXML (1)
  • CLR (1)
  • DNS (1)
  • Encryption (3)
  • Excel (2)
  • FuelPHP (3)
  • Games (2)
  • Google Chrome (1)
  • GSuite (1)
  • HTML (1)
  • Imagick (2)
  • Javascript (1)
  • Kindle (1)
  • LAMP (3)
  • Linux (7)
  • MariaDB (2)
  • Mathematics (2)
  • MySql (4)
  • NPOI (1)
  • Office 365 (1)
  • Perl (1)
  • PHP (6)
  • Programming (1)
  • Remote desktop (1)
  • SFTP (2)
  • Sockets (3)
  • Sql Server (20)
  • Sql Server 2016 (14)
  • Sql Server 2019 (1)
  • SSL (4)
  • Task scheduler (1)
  • Telerik ASP.NET AJAX (2)
  • The Dummy Programmer Chat (2)
  • Threading (5)
  • Tools (1)
  • TPL (3)
  • TypeScript (3)
  • Ubuntu (4)
  • Virtualization software (3)
  • Visual Studio (1)
  • Visual Studio Code (2)
  • VueJS (1)
  • Web fonts (1)
  • Web programming (6)
  • Windows (12)
  • Windows 10 (15)
  • Windows Forms (1)
  • Windows Server (6)

Copyright © 2024 The Dummy Programmer | Privacy Policy | Terms of use |

Powered by PressBook Masonry Dark

Manage Cookie Consent
This site doesn’t collect user personal data and doesn’t install profiling or analytical cookies, either its own or from third parties. Read our privacy policy for more info.
Functional Always active
The technical storage or access is strictly necessary for the legitimate purpose of enabling the use of a specific service explicitly requested by the subscriber or user, or for the sole purpose of carrying out the transmission of a communication over an electronic communications network.
Preferences
The technical storage or access is necessary for the legitimate purpose of storing preferences that are not requested by the subscriber or user.
Statistics
The technical storage or access that is used exclusively for statistical purposes. The technical storage or access that is used exclusively for anonymous statistical purposes. Without a subpoena, voluntary compliance on the part of your Internet Service Provider, or additional records from a third party, information stored or retrieved for this purpose alone cannot usually be used to identify you.
Marketing
The technical storage or access is required to create user profiles to send advertising, or to track the user on a website or across several websites for similar marketing purposes.
Manage options Manage services Manage {vendor_count} vendors Read more about these purposes
View preferences
{title} {title} {title}