Skip to content

The Dummy Programmer

Stories of daily programming

  • Home
  • My other dummy projects
  • Games
    • Space Y: An Asteroids clone
  • Services
    • What’s my user agent
    • What’s my IP address
  • About
  • Toggle search form

Configure a PHP development environment in Windows (part 4 of 4)

Posted on September 19, 2020September 19, 2020 By

We have finally come to the end of this series of posts. I believe that in a serious PHP development environment a MySql installation cannot be missing. So today we are going to see how we can install a MySql instance in a Windows environment.

Let’s start by downloading the software. You can find the MySql free download in the “MySql Community Downloads” page which resides at the following address: https://dev.mysql.com/downloads/.

I suggest you to download and use MSI package “MySql Installer for Windows”. It’s basically a program which allows you to install various components of MySql. We are going to use it to install MySql Server and MySql Workbench (a kind of Sql Server Management Studio).

Once the download is completed, run the MSI package to begin the installation process. This is the first step of the installation:

First step of MySql installation

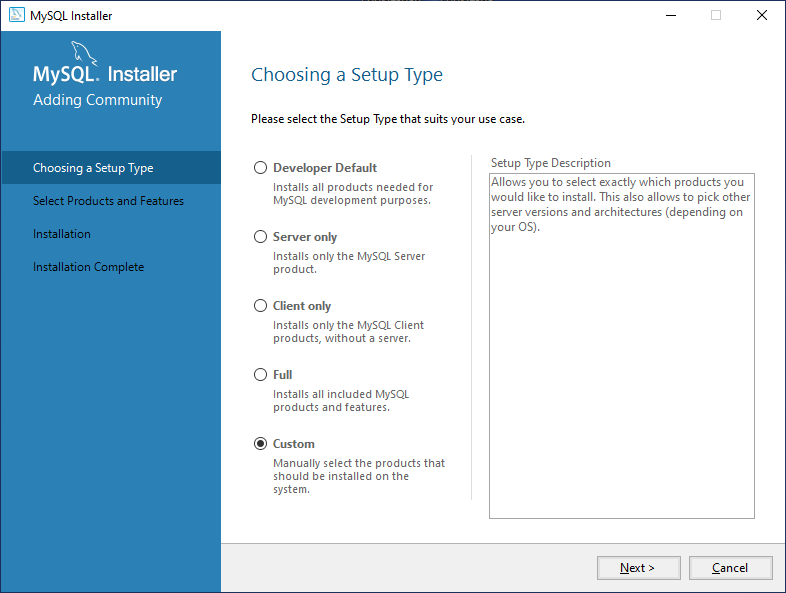
In this post we will select a “Custom” installation, but of course, according to your needs, there nothing wrong with the other options. So select “Custom” and click “Next”.

Select the components you want to install

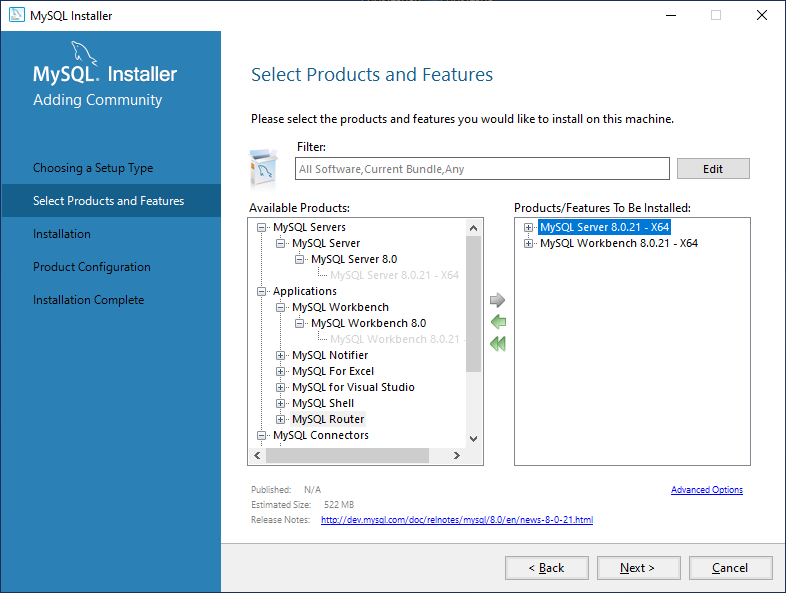
In the next step you have to select which components you want to install. In this example we will select “MySql Server” and “MySql Workbench”. Be sure to bring them in the right panel, then click “Next”.

We are ready to install the selected components

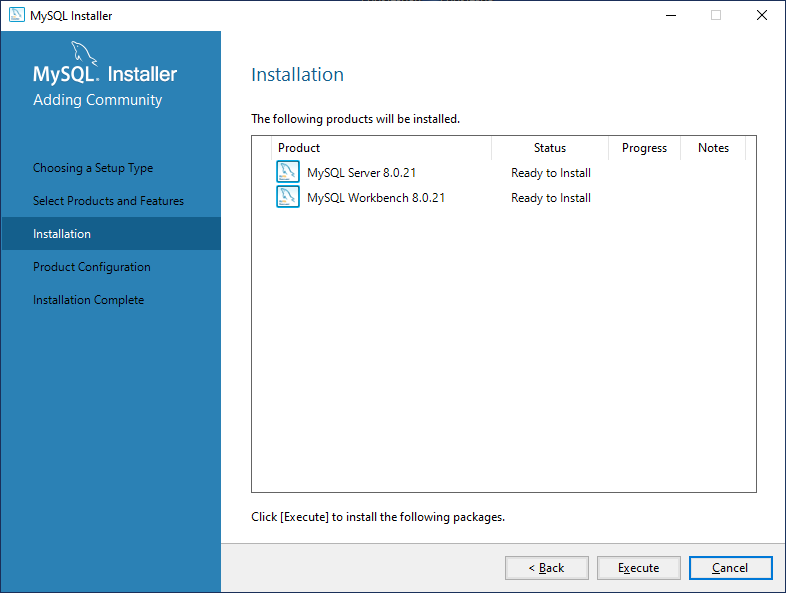
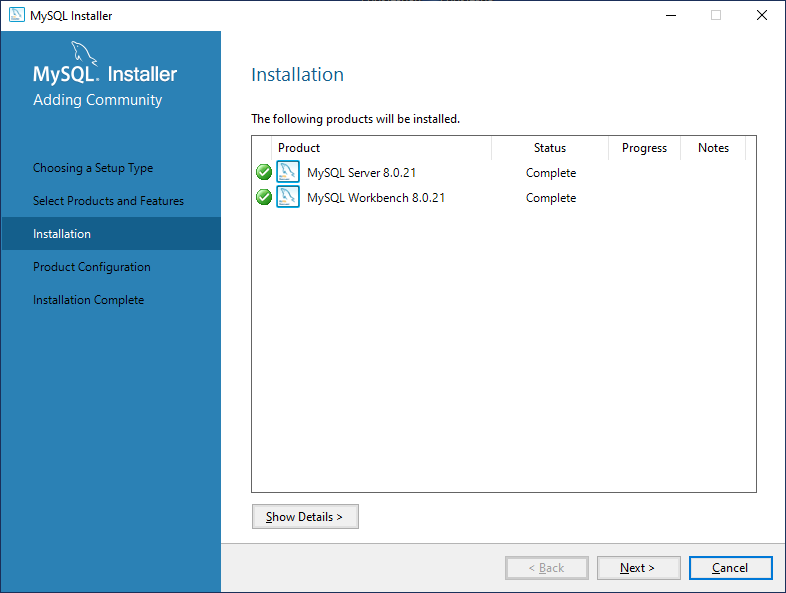
Click on “Execute” to confirm you want to proceed. The installation will take few minutes. Once completed, you will see the following form.

Installation completed

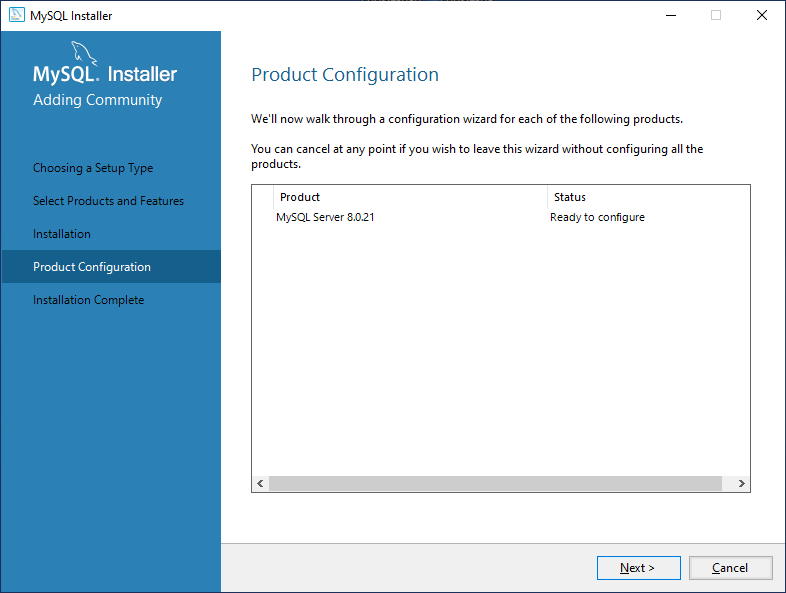
After the installation, you will requested to provide some configuration info, as indicated in the following form.

Ready to configure MySql

In the following form, choose “Standalone MySql Server / Classic MySql Replication”.

High availability configuration

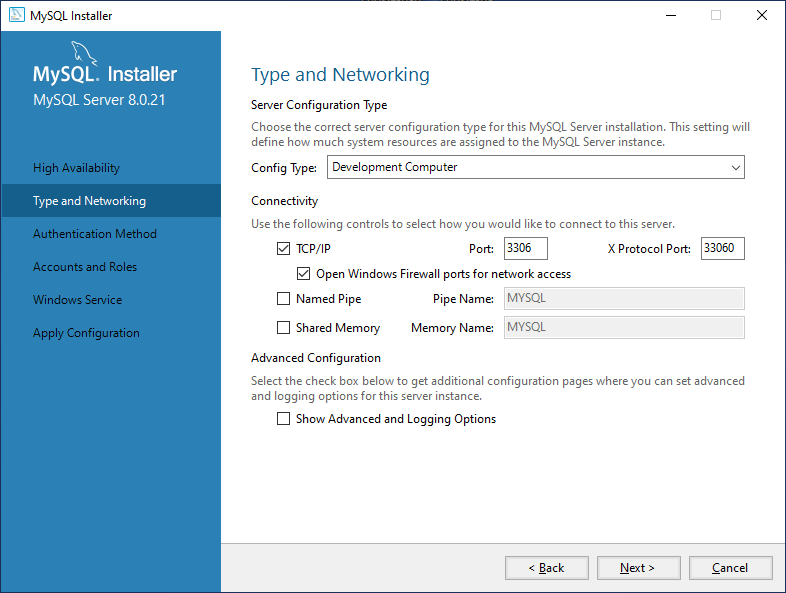
In the following form be sure to select “Development computer”, then leave the default for other options.

Configuring type and networking

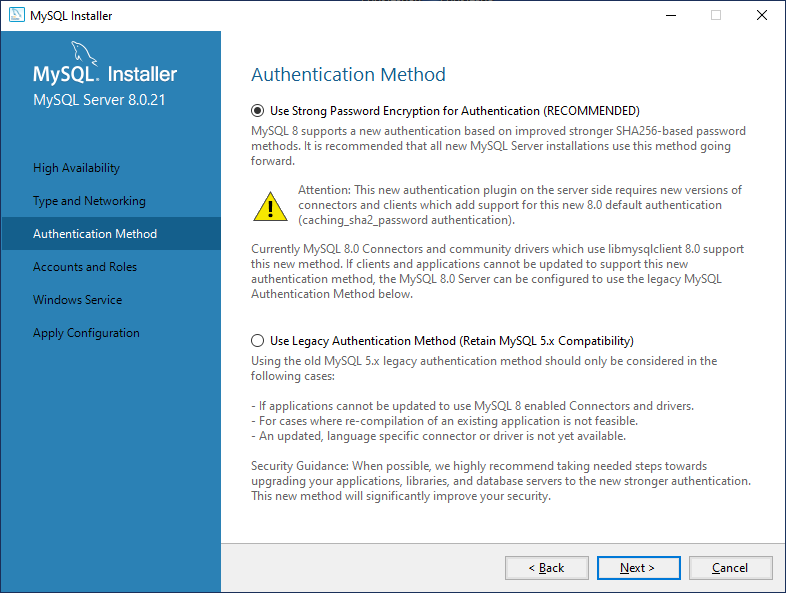
In the following form choose “Use strong password encryption for authentication” and click “Next”.

Configure authentication method

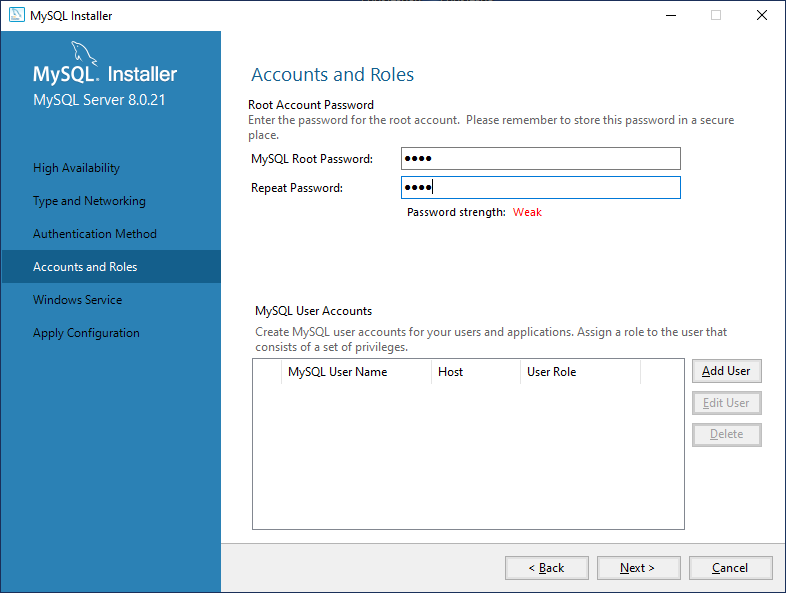
In the following form you have to set the password for the root user. You can also create other users here. It is at your discretion, but consider that you can also create new users at a later time. Click “Next” to proceed.

Configure root password and other accounts

In the following form I suggest you to configure MySql Server as a Windows Service. Depending on your needs you may think not to run MySql service when Windows starts, but to run it when you need it to save some boot time and memory. In this case we will select the option “Start the MySql Server at System Startup”. Click “Next” to confirm.

MySql Server service configuration

You will be prompted with two or three forms where you can simply click “Next”. When you get to this form you can click on “Finish” to complete the installation.

The installation has been completed.

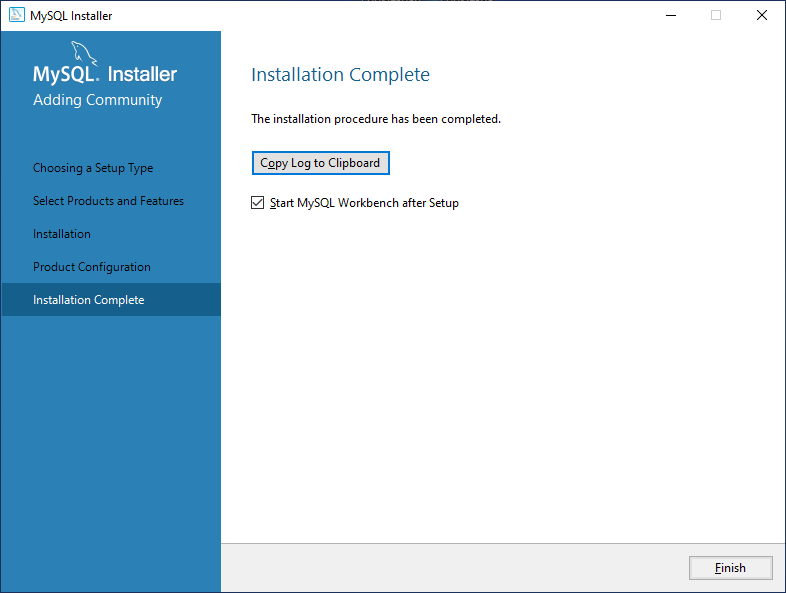
Congratulations, you have just installed MySql Server and MySql Workbench.

Let’s test our installation

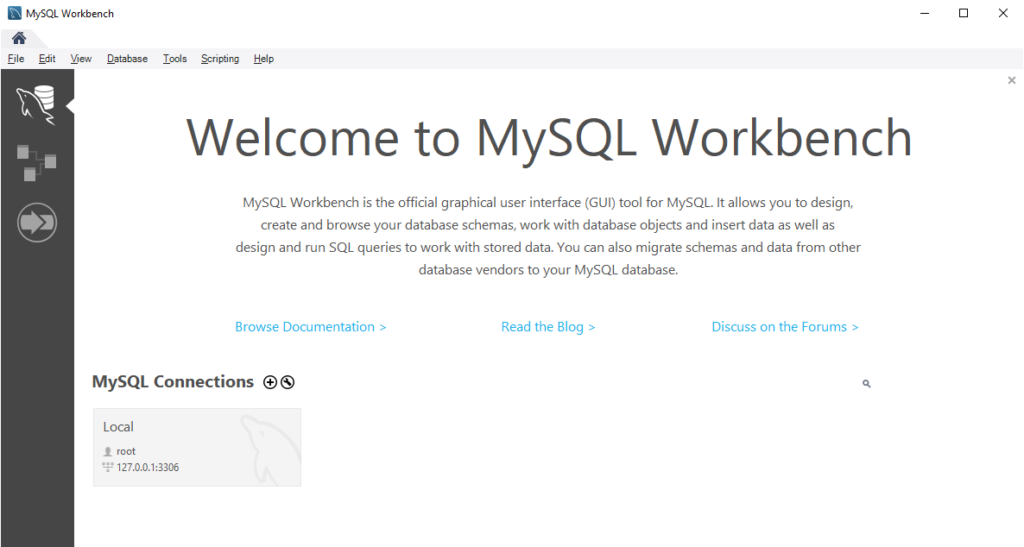
Let’s make a simple test to check if MySql is working. We can do this running MySql Workbench. You will see the following window:

MySql Workbech at work

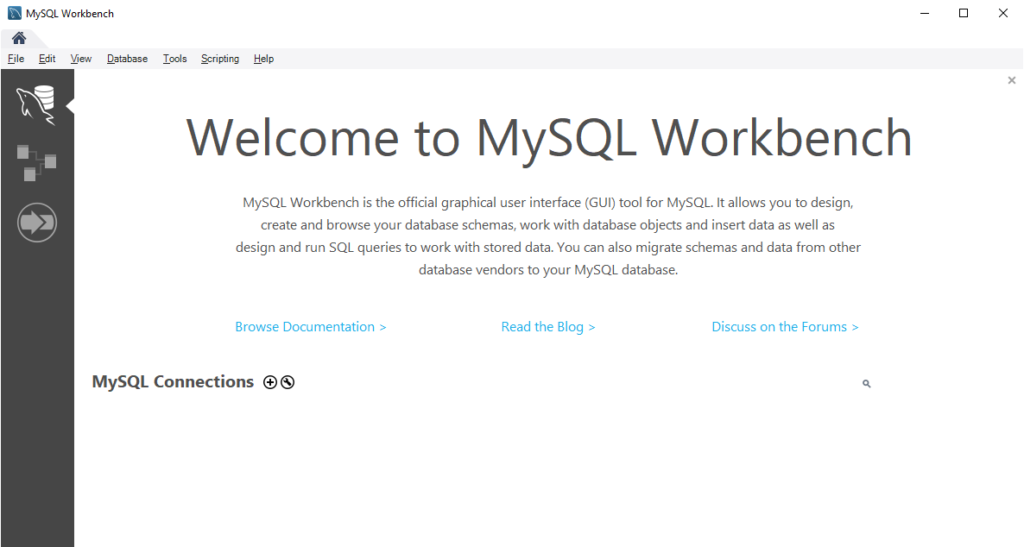
We need to create a new connection, so click on the “plus” button next to the text “MySQL Connection”. The following window will appear:

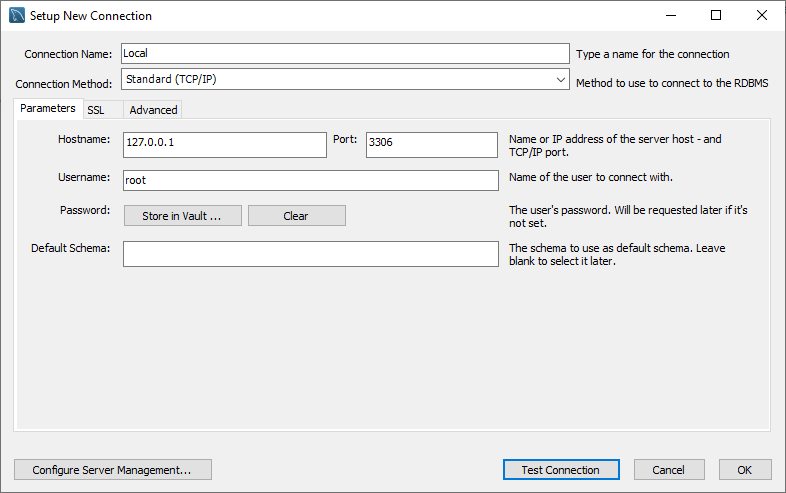
The form above is configured to connect to a local MySql Server instance using the standard TCP/IP port. Click “Ok” to proceed. You will be asked to insert the password:

Insert the password of your user

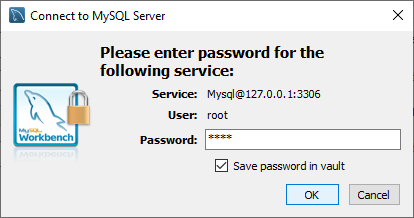
Insert the password. I usually check the option “Save password in vault” to avoid having to enter the password every time.

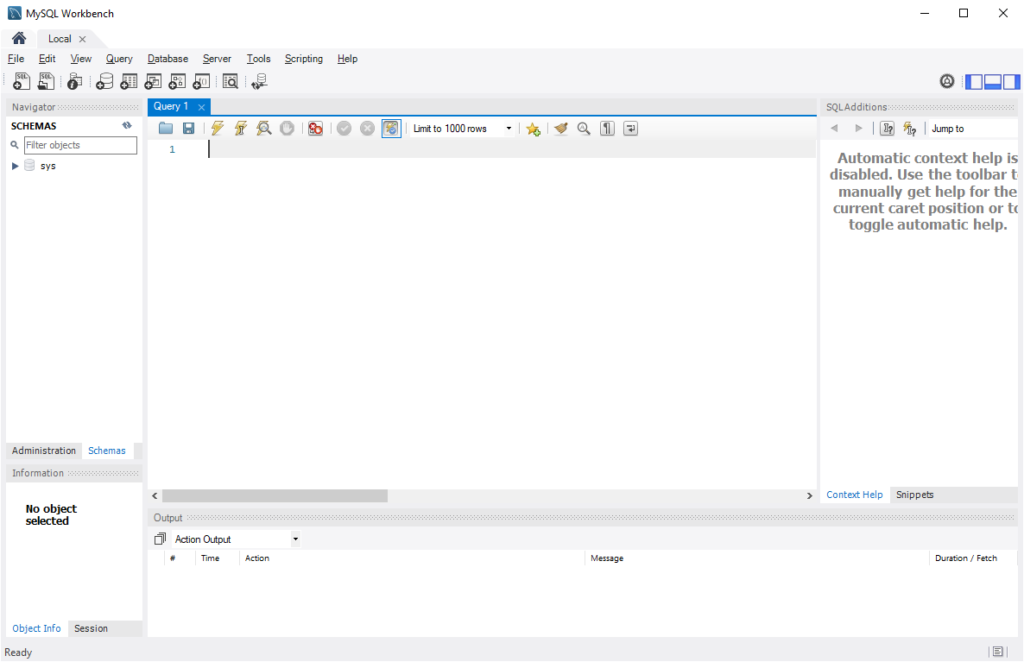
Click “OK” confirm. Now you will see a new box containing a connection named “Local”.

Double click the box to use that connection. You will see the new connection opened in a new tab. Here you can create databases (or “schemas”), execute queries, administer your MySql instance and so on…

If you were able to do all the steps above, we can conclude that MySql is working correctly. That’s it for now…

Bye bye!! 🙂

MySql, PHP, Web programming, Windows, Windows 10

Post navigation

Previous Post: Configure a PHP development environment in Windows (part 3 of 4)
Next Post: Reading data from a NetworkStream object in C#

Related Posts

Capture screen using C# C#
Create a folder starting with dot in Windows Windows
Google Chrome OnBlur endless loop Google Chrome
FuelPHP & PHP installation issues FuelPHP
Configure a PHP development environment in Windows (part 2 of 4) PHP
Quickly open the startup folder in Windows 10 Windows

Search

Related posts

  • Configure a PHP development environment in Windows…
  • Configure a PHP development environment in Windows…
  • Configure a PHP development environment in Windows…
  • Is Environment.TickCount reliable?

Categories

  • .NET 6 (1)
  • .NET 7 (1)
  • AJAX (1)
  • Android (2)
  • Apache (4)
  • ASP.NET (9)
  • ASP.NET MVC (3)
  • Avalonia UI (1)
  • BCP (1)
  • Bitlocker (2)
  • C# (14)
  • CentOS (4)
  • ClosedXML (1)
  • CLR (1)
  • DNS (1)
  • Encryption (3)
  • Excel (2)
  • FuelPHP (3)
  • Games (2)
  • Google Chrome (1)
  • GSuite (1)
  • HTML (1)
  • Imagick (2)
  • Javascript (1)
  • Kindle (1)
  • LAMP (3)
  • Linux (7)
  • MariaDB (2)
  • Mathematics (2)
  • MySql (4)
  • NPOI (1)
  • Office 365 (1)
  • Perl (1)
  • PHP (6)
  • Programming (1)
  • Remote desktop (1)
  • SFTP (2)
  • Sockets (3)
  • Sql Server (20)
  • Sql Server 2016 (14)
  • Sql Server 2019 (1)
  • SSL (4)
  • Task scheduler (1)
  • Telerik ASP.NET AJAX (2)
  • The Dummy Programmer Chat (2)
  • Threading (5)
  • Tools (1)
  • TPL (3)
  • TypeScript (3)
  • Ubuntu (4)
  • Virtualization software (3)
  • Visual Studio (1)
  • Visual Studio Code (2)
  • VueJS (1)
  • Web fonts (1)
  • Web programming (6)
  • Windows (12)
  • Windows 10 (15)
  • Windows Forms (1)
  • Windows Server (6)

Copyright © 2024 The Dummy Programmer | Privacy Policy | Terms of use |

Powered by PressBook Masonry Dark

Manage Cookie Consent
This site doesn’t collect user personal data and doesn’t install profiling or analytical cookies, either its own or from third parties. Read our privacy policy for more info.
Functional Always active
The technical storage or access is strictly necessary for the legitimate purpose of enabling the use of a specific service explicitly requested by the subscriber or user, or for the sole purpose of carrying out the transmission of a communication over an electronic communications network.
Preferences
The technical storage or access is necessary for the legitimate purpose of storing preferences that are not requested by the subscriber or user.
Statistics
The technical storage or access that is used exclusively for statistical purposes. The technical storage or access that is used exclusively for anonymous statistical purposes. Without a subpoena, voluntary compliance on the part of your Internet Service Provider, or additional records from a third party, information stored or retrieved for this purpose alone cannot usually be used to identify you.
Marketing
The technical storage or access is required to create user profiles to send advertising, or to track the user on a website or across several websites for similar marketing purposes.
Manage options Manage services Manage {vendor_count} vendors Read more about these purposes
View preferences
{title} {title} {title}